

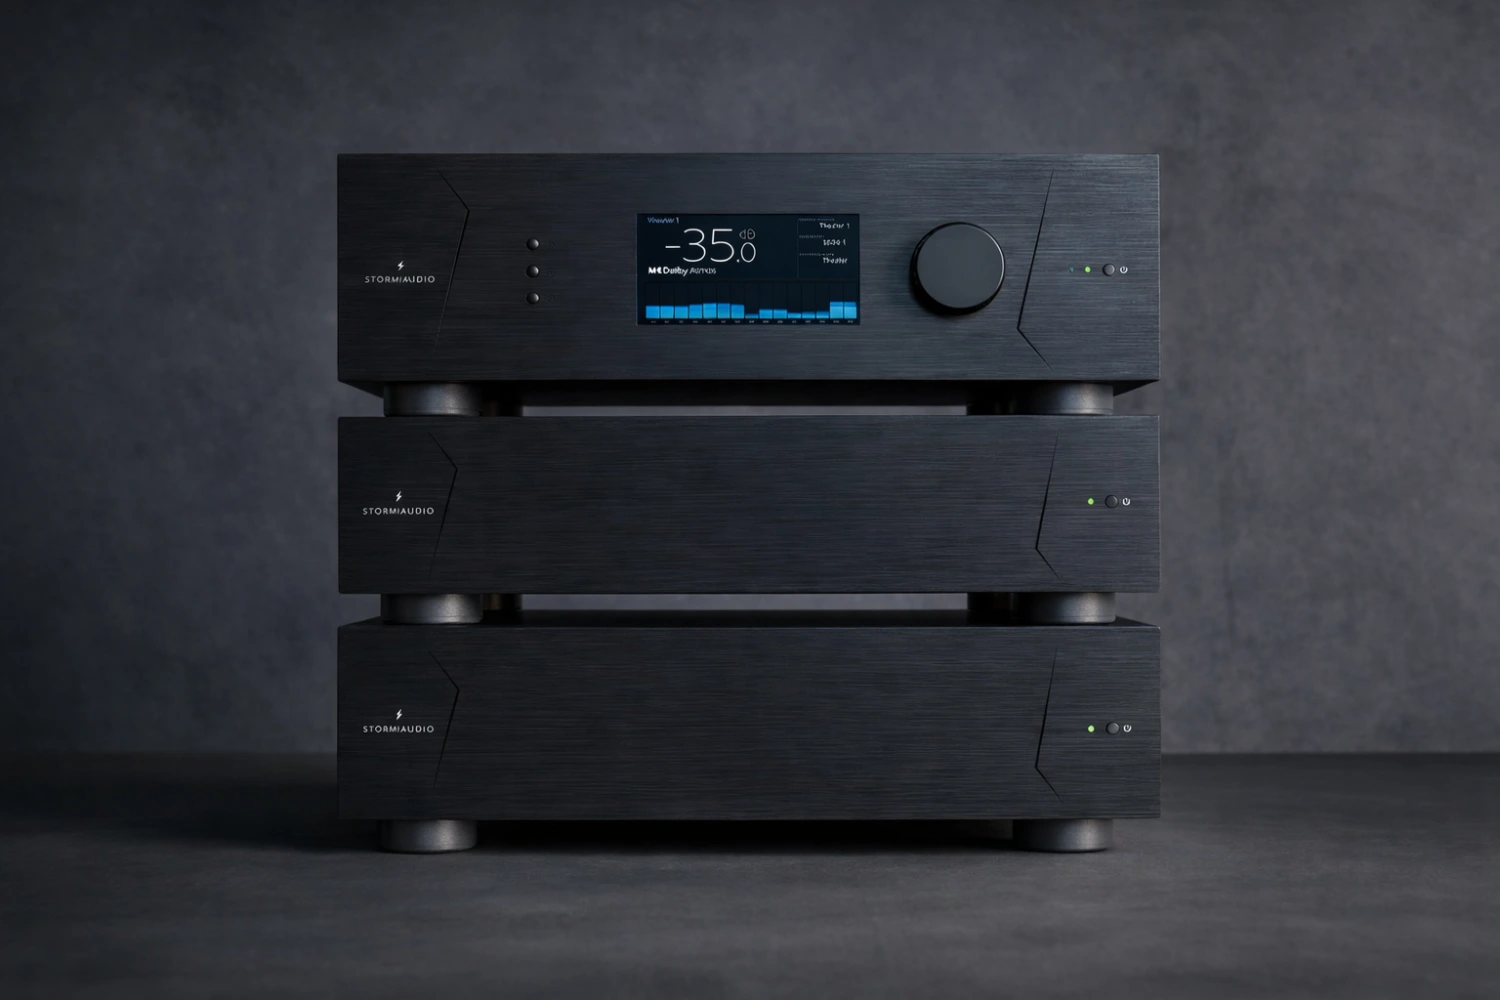
A phono preamplifier is one of the most sensitive amplifier stages in a hi-fi system.
It has to take the tiny signal from a turntable cartridge, amplify it, and pass it cleanly to an integrated amplifier, preamplifier, or line-level input.
Because that cartridge signal is extremely weak, small setup errors can become obvious as hum, hiss, distortion, thin sound, dull treble, or mismatched volume. This guide explains how to set up a phono preamp in practical terms, with special attention to gain, cartridge loading, capacitance, grounding, connection order, placement, and troubleshooting.
What a phono preamplifier does in the amplifier chain
A phono preamplifier, also called a phono stage or phono amp, sits between the turntable and the line-level section of your amplifier system.
A turntable cartridge does not produce the same kind of signal as a streamer, CD player, DAC, or tuner.
Its output is much lower, and it requires the correct phono amplification before it can be used by a normal line input.
Some integrated amplifiers include a built-in phono stage, while many systems use an external phono preamplifier.
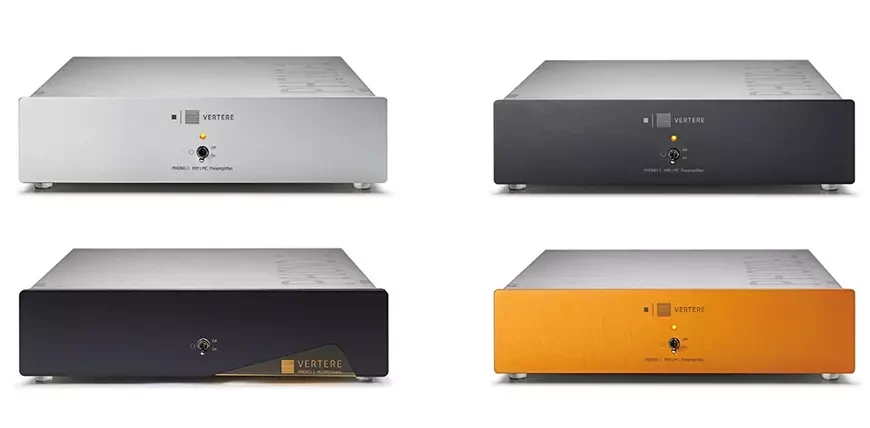
For example, some modern integrated amplifiers remain strongly analog-focused and include a dedicated phono input, while standalone phono stages such as the Vertere Phono-1 LX or Avid Velsonic offer extensive adjustment for moving-magnet and moving-coil cartridges.
The setup principles are the same: match the cartridge to the phono input, then feed the corrected line-level signal to the rest of the amplifier chain.
The important point is that a phono preamp is not just a volume booster.
It is a precision low-noise amplifier stage.
Noise control, grounding, power supply stability, input matching, and careful placement matter more here than they do with many line-level sources.
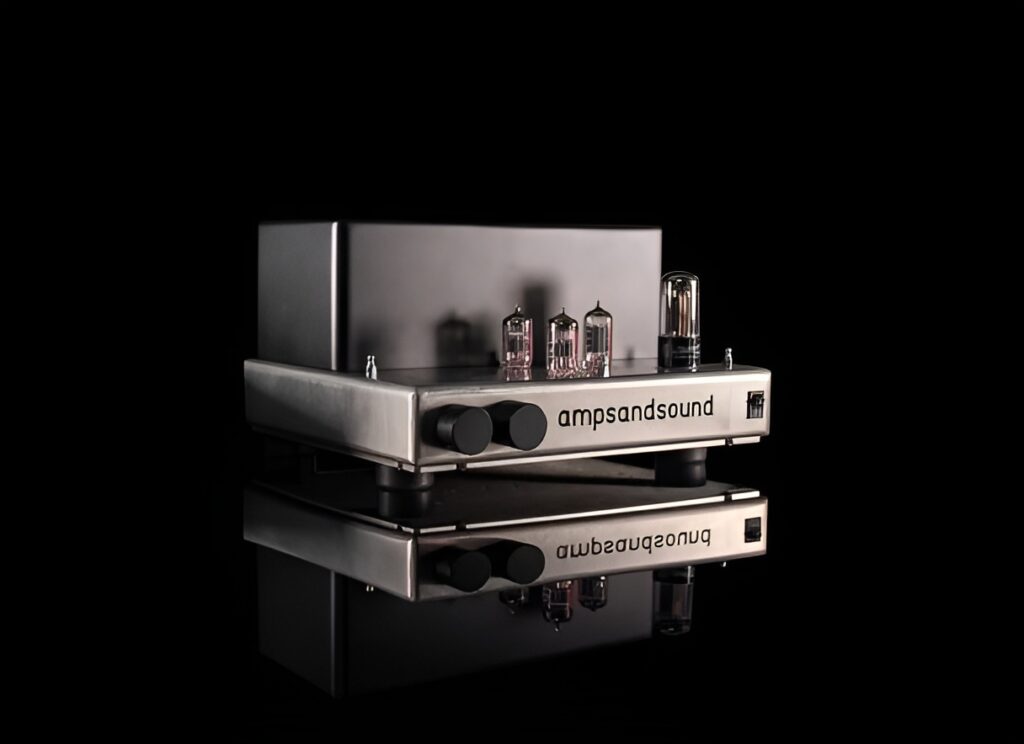
Identify your cartridge type before changing settings
The first setup decision is cartridge type.
Most phono preamps support either MM, MC, or both.
MM means moving magnet; MC means moving coil. These cartridge types typically need different gain and loading arrangements, which is why adjustable phono preamps provide separate options for MM and MC use.
Do not guess if you are unsure.
Check the cartridge model, the turntable documentation, or the cartridge manufacturer’s setup information.
If your phono preamp has separate MM and MC inputs, connect the turntable to the correct input before powering the system. If it uses internal switches, rear-panel switches, or DIP switches, set the cartridge mode first.
Some phono stages give broad adjustment.
The Phono-1 family, for example, has been described with multiple gain, impedance, and capacitance settings, while the Avid Velsonic is designed with extensive MM and MC adjustability.
These features are useful only when you approach them methodically rather than changing several parameters at once.
- Find the cartridge model and confirm whether it is MM or MC.
- Set the phono preamp to the matching MM or MC mode before listening.
- If the phono stage has internal switches, power it off before opening or adjusting anything.
- Use the cartridge maker’s recommended settings as the first reference point whenever available.
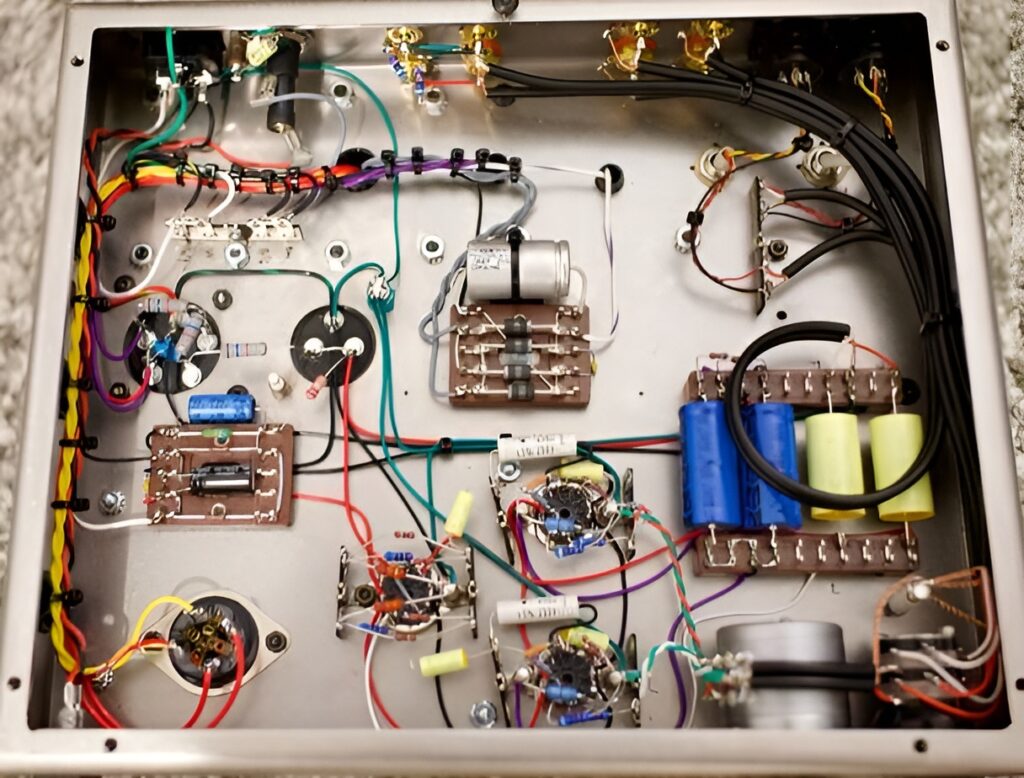
How to connect the phono preamp safely
A correct connection path is simple: turntable outputs go into the phono preamp input, and the phono preamp output goes to a line-level input on your integrated amplifier, preamplifier, receiver, or active system controller.
Use inputs labeled AUX, Line, CD, Tuner, or similar.
Do not connect the output of an external phono preamp into another phono input, because that sends an already-amplified phono signal through a second phono stage.
If your amplifier already has a built-in phono stage and you want to use an external one, bypass the built-in stage by using a normal line input.
Conversely, if you use the amplifier’s built-in phono input, do not place an external phono preamp before it.
Power-off connection discipline matters.
The signal is delicate and amplifier gain may be high, so switch off or mute the amplifier before connecting or disconnecting phono cables.
This prevents thumps through the loudspeakers and avoids accidental overload.
- Turn the amplifier volume down and power off the system before wiring.
- Connect the turntable left and right RCA leads to the phono preamp input.
- Connect the phono preamp output to a line-level input on your amplifier.
- Attach the turntable ground wire to the phono preamp ground terminal if provided.
- Power on in this order: source and phono stage first, main amplifier last. Power off in reverse order.
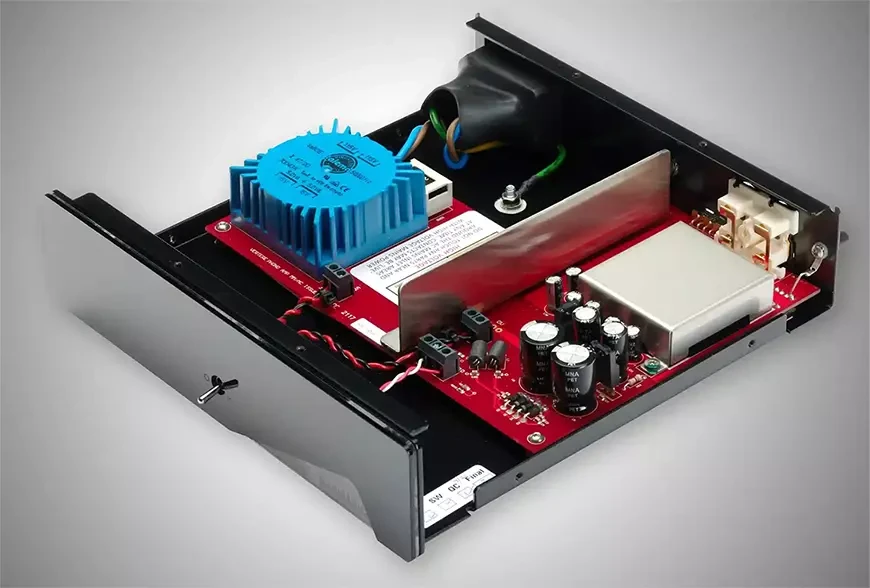
Gain explained: matching cartridge output to your amplifier
Gain is the amount of amplification applied by the phono preamp.
A low-output cartridge needs more gain than a high-output cartridge.
If gain is too low, you may need to turn your amplifier volume much higher than usual and the system may sound weak or noisy. If gain is too high, the sound can become hard, compressed, distorted, or too loud compared with other sources.
Adjustable gain is one reason dedicated phono preamps are useful.
Avid’s Velsonic, for example, is described as offering a wider range of gain settings to help match output levels to other system components.
The practical goal is not to choose the highest gain available; it is to choose enough gain for healthy volume without overdriving the phono stage, preamplifier, or integrated amplifier input.
When matching to the rest of the amplifier chain, remember that downstream components also have input sensitivity and input impedance.
A well-designed power amplifier or integrated amplifier expects a certain line-level input range.
If the phono preamp output is far hotter than your other sources, reduce phono gain if possible. If the turntable is much quieter than every other source even at normal listening levels, increase gain one step if the cartridge and phono stage allow it.
- Start with the gain setting recommended for your cartridge type.
- Play a familiar record and compare practical volume position with your other sources.
- If the volume is much too low and noise rises with volume, try the next higher gain setting.
- If loud passages sound strained or the phono source is much louder than other sources, reduce gain.
- Change only one gain step at a time and listen again before making further adjustments.
Loading explained: input impedance and cartridge behavior
Loading refers to the electrical load the phono preamp presents to the cartridge.
In everyday setup language, this usually means input impedance.
The cartridge, cable, and phono input form an electrical system; changing the load can alter level, tonal balance, and how controlled the cartridge sounds.
Many adjustable phono stages provide multiple impedance choices, especially for MC cartridges.
The Vertere Phono-1 line has been described with numerous input impedance settings, and the Avid Velsonic offers extensive impedance options for matching different cartridges.
This flexibility is helpful because cartridges are not all designed to see the same load.
The safest approach is to begin with the cartridge manufacturer’s suggested load.
Then, if your phono preamp allows it, make small changes and evaluate one setting at a time.
Do not use loading as a random tone control. If you move too far away from the cartridge’s intended range, you may trade one problem for another, such as dullness, glare, reduced dynamics, or uneven balance.
- Locate the cartridge’s recommended loading information.
- Set the phono preamp input impedance to the recommended value or closest available option.
- Listen for tonal balance, noise, and clarity before changing anything else.
- If experimenting, change loading one step at a time and keep notes.
- Return to the recommended setting if changes create dullness, brightness, distortion, or instability.
Capacitance explained: why cable and input settings matter
Capacitance is another electrical parameter in the cartridge-to-phono-preamp connection.
It is influenced by the phono preamp setting, the turntable cable, and any extra interconnects used before the phono stage.
Some phono preamps include multiple capacitance settings; the Vertere Phono-1 platform, for instance, has been described with nine capacitance options.
Capacitance is especially important when a cartridge and phono input are designed to work within a specified capacitive range.
Too much or too little capacitance can affect high-frequency behavior.
In practical terms, incorrect capacitance may contribute to treble that seems exaggerated, softened, uneven, or less natural than expected.
Because cable capacitance is part of the total load, avoid unnecessarily long cables between turntable and phono preamp.
The phono signal is weak, so the best practice is a short, well-made turntable cable into the phono stage, then a normal line-level interconnect from the phono stage to the amplifier.
If the turntable has a fixed cable, include that in your thinking and avoid adding adapters or extensions unless necessary.
- Check whether your cartridge specifies a capacitance range.
- Use the shortest practical cable between turntable and phono preamp.
- Select the phono preamp capacitance setting closest to the cartridge recommendation when available.
- Avoid changing capacitance and impedance at the same time.
- If treble balance changes unexpectedly after a cable swap, revisit capacitance settings.
Grounding: solving hum without creating unsafe shortcuts
Grounding is central to phono preamp setup because the cartridge signal is so small.
A small grounding error can become an obvious hum through the speakers.
Most turntables provide a thin ground wire that should connect to the phono preamp’s ground terminal. This gives the turntable and phono stage a common reference and often reduces hum.
Some phono stages include a ground-lift or ground-connection option.
The Vertere Phono-1 LX, for example, includes a two-position ground lift switch so the user can choose the quieter arrangement for a specific system.
This does not mean one position is universally correct. The right choice is the one that produces the lowest hum in your particular amplifier chain.
Important safety caution: do not defeat the safety earth of mains-powered equipment.
Ground-lift switches on audio signal grounds are not the same as removing protective earth from power cords.
If you are unsure, use the product manual or ask a qualified technician.
- Connect the turntable ground wire to the phono preamp ground post.
- Keep volume low when testing for hum.
- If the phono preamp has a ground-lift switch, try both positions and choose the quieter one.
- Move signal cables away from power cables and power supplies.
- Never remove or modify a mains safety ground to solve audio hum.
Placement, power, and noise control around amplifier equipment
A phono preamp should be treated as a sensitive low-level amplifier, not as a casual accessory.
Power transformers, large power amplifiers, wireless devices, and dense cable bundles can all make noise problems harder to solve.
The source material for modern phono stages repeatedly emphasizes low-noise circuitry, power supply filtering, grounding, and stable power because these factors directly affect a weak cartridge signal.
Place the phono preamp close enough to the turntable to keep the phono cable short, but not directly on top of a power amplifier or large power supply.
If you use separate amplification components, avoid stacking the phono stage on hot-running gear.
Tube amplifiers in particular generate heat and require ventilation; even with solid-state amplifiers, keeping low-level phono electronics away from high-current devices is sensible.
Mechanical interference also matters.
Avid’s Velsonic, for example, is described with improved isolation feet intended to limit mechanical interference.
You do not need to overcomplicate placement, but keep the phono preamp on a stable shelf, away from vibration sources, and avoid placing it where the turntable motor, loudspeakers, or footfalls can shake it.
- Place the phono preamp near the turntable but away from power transformers and main amplifiers.
- Do not stack it on hot amplifier chassis or crowded power supplies.
- Separate phono signal cables from AC power cables where practical.
- Use a stable surface and avoid vibration-prone placement.
- If hum changes when you move the phono stage, continue experimenting with placement before changing cartridge settings.
Using an external phono preamp with integrated amplifiers and preamplifiers
In the amplifier category, the most common compatibility issue is double amplification.
If your integrated amplifier has a phono input, that input expects a raw turntable signal.
An external phono preamp outputs a line-level signal. Feeding that line-level signal into the amplifier’s phono input is incorrect and can cause severe overload.
Use one phono stage only.
Either connect the turntable directly to the integrated amplifier’s phono input, or connect the turntable to an external phono preamp and then use a line input on the amplifier.
If your system uses a separate preamplifier and power amplifier, the phono preamp should feed the line-level preamplifier input, not the power amplifier directly unless the phono stage specifically provides suitable volume control, which many do not.
Balanced and unbalanced connections also matter in some amplifier systems.
Many power amplifiers and preamplifiers provide both, but most turntable-to-phono connections are unbalanced RCA.
Use the connection type supported by your phono preamp and amplifier, and avoid adapters unless you know they are appropriate.
- Decide whether you are using the built-in phono stage or an external one.
- If using external phono, connect its output to AUX, Line, CD, or another line input.
- Do not connect external phono output to a phono input.
- Keep the preamp-to-amplifier connection secure and channel-correct.
- Label the input if your amplifier allows it to prevent future connection mistakes.
Troubleshooting hum, hiss, distortion, and channel problems
When a phono setup misbehaves, change one variable at a time.
Because gain, loading, capacitance, grounding, placement, and cabling interact, changing several settings together makes diagnosis difficult.
Hum usually points to grounding, cable routing, or placement near power equipment.
Hiss may be related to excessive gain or a low-output cartridge being amplified too aggressively.
Distortion can come from too much gain, a wrong input mode, or sending an external phono preamp into another phono input. Uneven tonal balance may suggest loading or capacitance mismatch. A missing channel is more often a cable, cartridge lead, input, or switch-setting issue than a subtle setup problem.
Start with the simplest checks: correct MM/MC mode, correct input, secure cables, ground connected, amplifier volume low, and no double phono stage.
Then work through gain, loading, capacitance, and placement.
- Hum: check ground wire, ground-lift switch, cable routing, and distance from power gear.
- Hiss: reduce gain if possible and confirm the cartridge type is correctly selected.
- Distortion: make sure external phono output is not connected to a phono input.
- Dull or bright sound: return loading and capacitance to cartridge-recommended settings.
- One channel missing: swap left/right cables carefully to locate whether the problem follows the cable, cartridge, phono input, or amplifier input.
Concise phono preamp setup checklist
- Confirm the cartridge type: MM or MC.
- Use only one phono stage in the signal path.
- Connect turntable to phono preamp, then phono preamp to a line-level amplifier input.
- Attach the turntable ground wire to the phono preamp ground terminal.
- Start with cartridge-recommended gain, loading, and capacitance settings.
- Keep the turntable-to-phono cable short and avoid unnecessary adapters.
- Place the phono preamp away from power amplifiers, transformers, heat, and vibration.
- Change one setting at a time and keep notes.
- Use a ground-lift switch only as intended; never defeat mains safety earth.
- If noise or distortion appears, check wiring and input selection before assuming equipment failure.
Common phono preamp setup mistakes and how to avoid them
Connecting an external phono preamp to an amplifier’s phono input.
Connect the external phono preamp output to a line-level input such as AUX, Line, CD, or Tuner.
Use only one phono stage.
Choosing the highest gain because it sounds louder at first.
Use the lowest gain that gives healthy volume without excess hiss, overload, or a big level jump compared with other sources.
Ignoring cartridge type.
Set the phono preamp for MM or MC according to the cartridge, not according to the turntable brand or guesswork.
Changing gain, loading, and capacitance all at once.
Start from recommended values, then adjust one parameter at a time so you know what caused the change.
Leaving the ground wire disconnected when hum is present.
Connect the turntable ground wire to the phono preamp and test any signal ground-lift option provided by the phono stage.
Placing the phono preamp on top of a power amplifier or near a power supply.
Move it to a stable, ventilated shelf away from transformers, high-current amplifier sections, heat, and vibration.
Using long or extended cables before the phono stage.
Keep the turntable-to-phono connection as short and direct as practical; run longer cables after the phono signal has been amplified to line level.
Frequently asked questions
Do I need a separate phono preamp if my integrated amplifier has a phono input?
Not necessarily.
A built-in phono input is already a phono preamplifier stage.
Use either the built-in phono stage or an external phono preamp, but not both in series.
How do I know whether to use MM or MC mode?
Check the cartridge model and its documentation.
MM and MC cartridges require different gain and loading arrangements, so the phono preamp must be set to the correct type.
What happens if phono gain is too high?
The phono source may sound too loud compared with other inputs, and loud passages can become strained, hard, compressed, or distorted.
Reduce gain one step if your phono preamp allows it.
Should I use the ground-lift switch on my phono preamp?
Use it only if your phono stage provides one, and test both positions at low volume.
Choose the quieter setting.
Do not modify or remove mains safety grounding to solve hum.
Why does changing the turntable cable affect the sound?
The cable between cartridge and phono preamp contributes to the electrical loading of the cartridge, including capacitance.
A cable change can therefore alter treble balance or noise behavior, especially with sensitive phono setups.
Is loading a tone control?
No.
Loading is a cartridge-matching parameter.
It can affect tonal balance, but the correct starting point is the cartridge manufacturer’s recommendation, not random adjustment for quick tonal changes.
Conclusion: set the phono preamp by matching, not guessing
A phono preamplifier is a precision amplifier stage, and the best setup comes from methodical matching.
Identify the cartridge as MM or MC, connect the phono stage correctly into a line-level amplifier input, attach the ground wire, and begin with the cartridge’s recommended gain, loading, and capacitance settings.
Use gain to achieve proper system level, impedance loading to match the cartridge electrically, capacitance to keep the cartridge-input relationship within its intended range, and grounding or ground-lift options to minimize hum safely. Keep cables short before the phono stage, place the unit away from power amplifiers and transformers, and change only one setting at a time. Done carefully, these steps give the cartridge’s tiny signal the clean, stable amplification it needs before it reaches the rest of your hi-fi amplifier chain.



Join the discussion
Share your thoughts, listening impressions or product experience.