


An external DAC, or digital-to-analog converter, takes a digital audio signal from a phone, computer, streamer, CD transport, TV, or storage device and turns it into an analog signal your amplifier, powered speakers, or headphones can use.
The setup is simple once you understand the four main decisions: which input to use, which output to connect, how the DAC is powered, and which settings affect compatibility and day-to-day use.
This guide explains those choices in practical terms, using real DAC features such as USB, optical, coaxial, AES/EBU, Bluetooth, RCA, XLR, fixed and variable output, headphone gain, filters, EQ, and display options.
Understand what the external DAC is doing in your system
A DAC sits between a digital source and an analog playback device.
The source might be a laptop over USB, a TV over optical, a streamer over network or USB, a CD transport over coaxial, or a phone over Bluetooth or USB-C.
The DAC receives the digital data, converts it to analog audio, and sends that signal onward.
In a speaker system, the DAC usually feeds an integrated amplifier, preamp, power amplifier, or active speakers through RCA or XLR outputs.
In a headphone system, the DAC may be combined with a headphone amplifier, in which case you plug headphones directly into the DAC/amp’s 3.5 mm, 4.4 mm, 6.35 mm, or XLR headphone output depending on the model.
Not every external DAC is the same type of product.
Some are pure DACs without a headphone amplifier, such as designs focused only on line-level RCA and XLR outputs.
Others are DAC/headphone amps with gain settings and multiple headphone sockets. Portable models may run from an internal battery or USB-C power, while desktop units may use internal linear supplies, toroidal transformers, or an external power input. Before connecting anything, identify whether your DAC is a line-level component, a headphone DAC/amp, a Bluetooth DAC/amp, a network DAC, or some combination of these.
- Identify your source device: computer, phone, streamer, TV, CD transport, storage drive, or Bluetooth transmitter.
- Identify your playback device: amplifier, active speakers, headphone amplifier, or headphones.
- Check whether your DAC has line outputs only, headphone outputs, or both.
- Set all volume controls low before making the first connection.
Choose the best digital input for the source
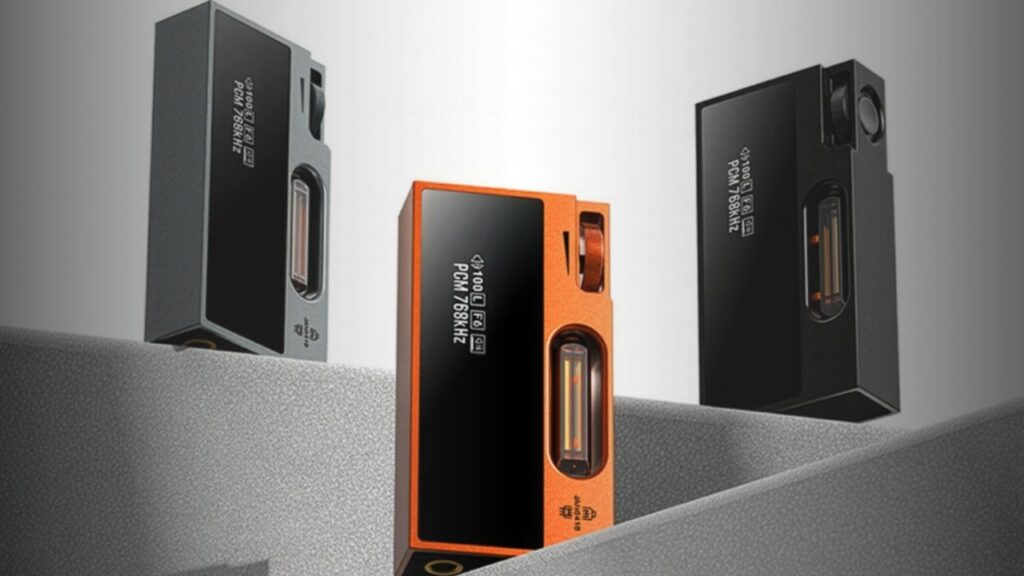
USB is the most common input for computer and phone audio.
Many desktop DACs use USB-B for a computer connection, while portable DACs often use USB-C.
USB can support high-resolution PCM and DSD on capable DACs. For example, some DACs list PC USB support far above the limits of optical or coaxial inputs, while other USB inputs are limited to lower rates depending on whether they are intended for a computer or a storage drive.
Do not assume that every USB port on a DAC does the same job.
A rear USB-B port labeled for PC USB is normally for a computer audio connection.
A USB-A port labeled for HDD or storage playback may be intended for files on a drive and can have different format or sampling-rate limits. If your DAC has both, connect your computer to the PC USB input, not the storage input.
Optical Toslink is useful for TVs, game consoles, some streamers, and computers with optical output.
It carries digital audio over light, which can help avoid electrical connection between components, but it may have lower maximum format support than USB on many DACs.
Coaxial S/PDIF uses an RCA-style digital cable and is common on CD transports, streamers, and some disc players. Like optical, coaxial is often limited to PCM rates below the highest USB capability of the same DAC.
AES/EBU is a balanced professional-style digital interface found on some higher-end DACs.
It is useful when your source also has AES/EBU output, especially in systems built around studio or high-end digital transports.
Bluetooth is the convenient wireless option. DACs with Bluetooth may support codecs such as SBC, AAC, aptX HD, aptX Adaptive, aptX Low Latency, or LDAC depending on the model and transmitting device. Bluetooth is practical for phones and casual listening, but codec support must match on both sender and DAC.
Some DACs also include network streaming functions.
A network-capable DAC may support services or protocols such as Roon Bridge, AirPlay, UPnP, or other network audio platforms through a wired or wireless network interface.
In that case, setup moves partly into the DAC’s web interface or control app, where services can be enabled or disabled.
- Use USB for a computer or phone when you want the DAC’s widest format support and direct connection.
- Use optical for TVs and devices where electrical isolation or convenience matters.
- Use coaxial for CD transports and digital sources with S/PDIF coax output.
- Use AES/EBU only if both the source and DAC provide it.
- Use Bluetooth when convenience matters more than a wired signal path, and confirm that your phone and DAC share the desired codec.
- If your DAC includes network streaming, complete the network setup before troubleshooting audio settings.
Connect the analog outputs correctly: RCA, XLR, and headphone sockets
After the DAC converts the signal, it sends analog audio out.
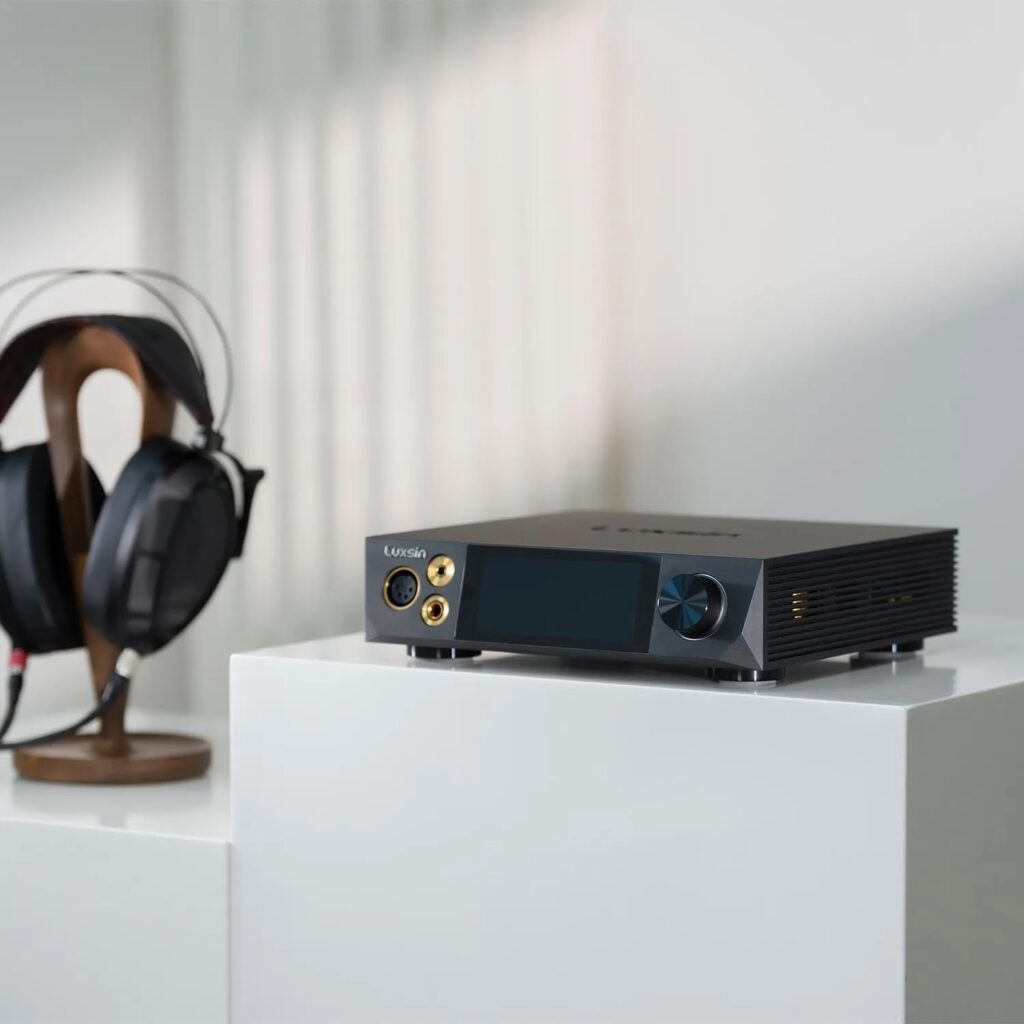
RCA outputs are unbalanced line outputs and work with most integrated amplifiers, preamps, powered speakers, and headphone amplifiers.
XLR outputs are balanced line outputs and require compatible balanced inputs on the receiving component. Some DACs provide both RCA and XLR; others require you to select which output is active.
Fixed versus variable output is a critical setting.
Fixed output sends a constant line-level signal and is the normal choice when connecting to an integrated amplifier, preamp, or headphone amplifier that already has its own volume control.
Variable output lets the DAC control volume and can be useful when feeding active speakers or a power amplifier directly, but it demands extra caution: start low, raise gradually, and confirm the DAC remembers its volume safely after standby or input changes.
Some DACs give specific output levels for RCA and XLR.
For example, a desktop DAC may specify around 2 V RMS on RCA and around 4 V RMS on XLR at full-scale signal.
This does not mean XLR is automatically the right choice in every system; it means the downstream input must be able to accept that signal without overload, and the cabling and inputs must be genuinely compatible.
If the DAC includes a headphone amplifier, use the headphone output for headphones, not the rear line outputs.
Headphone sockets may include single-ended 3.5 mm or 6.35 mm jacks and balanced 4.4 mm or XLR outputs.
Balanced headphone outputs require the correct balanced headphone cable. Avoid improvised adapters that could short contacts or connect a balanced headphone output to an incompatible single-ended plug.
A pure DAC without a built-in headphone amplifier should feed a separate headphone amp if you want to use headphones.
Conversely, a portable Bluetooth DAC/amp can drive IEMs and many portable headphones directly, but very demanding full-size headphones may still need more amplifier headroom than a small battery-powered device can provide.
- For an integrated amp or preamp, connect DAC RCA or XLR outputs to a line input and set the DAC to fixed output if available.
- For active speakers, use variable output only if the DAC is intended to act as the volume control, and begin at very low volume.
- For headphones, plug into the DAC/amp’s headphone output and choose the correct gain setting before raising volume.
- If your DAC has a rear switch selecting RCA or XLR, set it before powering up the rest of the system.
- Do not connect speaker outputs to a DAC, and do not treat headphone outputs and line outputs as interchangeable.
Power the DAC the right way
Power arrangements differ widely.
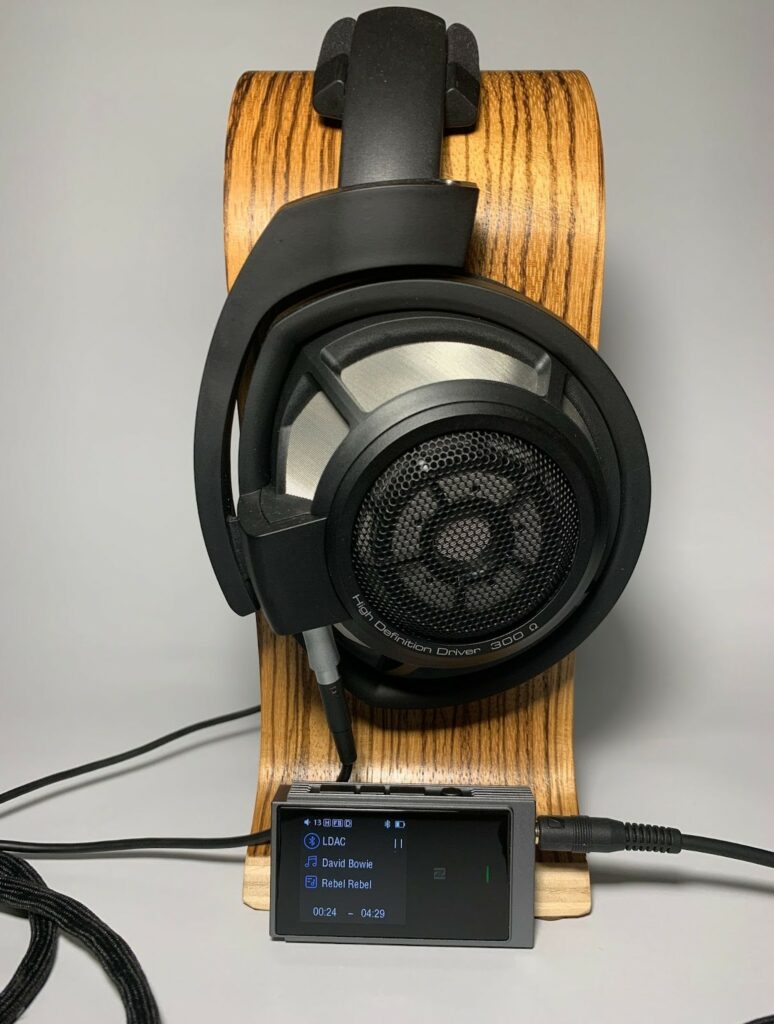
A portable Bluetooth DAC/amp may use its own battery, allowing standalone wireless use away from the phone.
Some portable USB DACs are powered by USB-C from a smartphone, tablet, or laptop. A desktop DAC may use an internal power supply, a toroidal transformer, separate power sections for digital and analog circuits, or an external power adapter depending on design.
If your DAC is USB-powered, connect it to a stable USB port and avoid loose hubs while troubleshooting.
Some portable DACs include an option to disable charging while used as a USB DAC, which can help reduce drain from the source device in certain setups.
Battery-powered models need regular charging; if battery life is shorter on a balanced output than a single-ended output, that is normal for designs that specify different runtimes for each output mode.
Some desktop DACs offer more than one power behavior.
One example is a DAC that can run directly from USB for a simple desktop setup but switch to a separate regulated linear power mode when an external supply is connected.
The practical lesson is to read the DAC’s power labels carefully: the same box may have a basic USB-powered mode and an enhanced external-power mode, but those modes are model-specific.
With larger desktop DACs, leave ventilation space and avoid stacking them directly on hot amplifiers.
DACs with tubes, even miniature tube stages, deserve extra care: do not drop them, do not block heat dissipation, and avoid rough portable use unless the chassis is specifically designed for it.
Heavy DACs with substantial cases and internal transformers should be placed on a stable shelf where cables cannot pull them forward.
- Use the supplied or manufacturer-approved power method for the DAC.
- For USB-powered DACs, test directly from the computer before adding hubs, docks, or adapters.
- Charge battery DACs before long sessions and confirm whether wired DAC mode charges the unit or can disable charging.
- Keep desktop DACs ventilated and away from excessive heat.
- Power on in this order when possible: source, DAC, preamp/integrated amp, then power amp or active speakers. Power down in reverse.

Set gain, filters, EQ, and output modes deliberately
Many DAC/amps include gain settings.
Gain changes how much amplification is available for headphones.
Low gain is the safe starting point for sensitive IEMs and efficient headphones because it gives finer volume control and reduces the risk of sudden loudness. Higher gain is for headphones that need more voltage or current. If your DAC/amp has automatic impedance detection or automatic gain adjustment, still begin with volume low when plugging in a new headphone.
Digital filters are selectable on many modern DACs.
They alter how the DAC reconstructs the digital signal, usually in subtle ways.
Because filter names and effects vary by manufacturer, treat them as preference settings rather than universal upgrades. Pick one, listen at matched volume, and avoid changing multiple settings at once when trying to understand what changed.
EQ can be useful, especially in DAC/amps with a 10-band EQ, parametric EQ, headphone profiles, or AI-assisted EQ.
Use EQ to correct a real need: too much bass, recessed vocals, sharp treble, or headphone matching.
Make small adjustments first. Extreme boosts can reduce headroom and may cause clipping if the system does not compensate. If the DAC provides headphone compensation profiles or target curves, confirm that the selected profile matches the exact headphone model before saving it.
Output mode settings matter.
A DAC may let you choose line out versus headphone out, single-ended versus balanced, tube mode versus solid-state mode, fixed versus variable output, or UAC 1.0 gaming/console mode versus standard USB audio.
UAC 1.0 modes can improve compatibility with some consoles or low-latency use cases on models that provide it, but may reduce maximum format support compared with full USB audio operation.
Display and indicator settings are not just cosmetic.
A front display may show active input, sampling rate, Bluetooth codec, battery level, VU meters, or signal status.
If you hear no sound, the display is often the fastest way to confirm whether the DAC is receiving a signal at all. Some desktop DACs allow display brightness changes or complete display-off operation, which can be useful in dark rooms.
- Start with low gain, then increase only if you cannot reach normal listening volume comfortably.
- Leave EQ flat during first setup, then apply small corrections after confirming the system works.
- Use fixed output into an amp with its own volume control; use variable output only when the DAC must control volume.
- Check the display or app for active input, sample rate, codec, gain, battery, and output mode.
- Change one setting at a time when optimizing.
Place and cable the DAC for stable, quiet operation
A DAC handles small analog signals after conversion, so placement and cabling should be tidy and deliberate.
Keep analog output cables away from power bricks, power strips, and high-current amplifier cables where possible.
Use the correct cable type for the connection: USB for USB audio, optical Toslink for optical, 75-ohm-style digital coaxial cable for coaxial S/PDIF where available, XLR interconnects for balanced analog outputs, and standard RCA interconnects for unbalanced analog outputs.
Avoid cable strain.
Portable DACs connected to phones can be damaged or disconnected by stiff USB-C cables, especially in a pocket or bag.
A short flexible cable is often easier to manage for mobile use. Desktop DACs should be placed so that rear-panel cables do not pull sideways on USB, optical, or coaxial connectors.
For Bluetooth DAC/amps, placement affects reliability.
Keep the DAC reasonably close to the phone or transmitter, avoid covering it completely with metal objects, and remember that calls through a built-in microphone are best in quiet spaces if the mic does not provide strong background-noise filtering.
If your DAC has a network bridge or streaming interface, use stable network placement and complete the network configuration before blaming the DAC section.
In network DACs with options to disable unnecessary services, turn off only services you understand; the goal is a clean setup, not accidental loss of the feature you actually use.
- Put the DAC on a stable, ventilated surface.
- Separate analog cables from power cables as much as practical.
- Use short, secure cables for portable phone setups.
- Confirm that balanced analog and balanced headphone connections are truly compatible with the receiving device or headphone cable.
- Label inputs in your mind or system notes so you know which source corresponds to each DAC input.
Troubleshoot no sound, dropouts, noise, and wrong format playback
If there is no sound, start with the signal path.
Confirm the source is playing, the operating system or app is sending audio to the DAC, the DAC is on the correct input, and the amplifier or headphones are connected to the active output.
If the DAC has a display, check whether it shows a sampling rate or codec. No displayed signal usually means the problem is upstream; a displayed signal with silence usually points to output selection, volume, muting, or downstream equipment.
For USB issues, try a direct connection to the computer or phone, then restart the music app.
If the DAC has different USB modes, confirm the right one is selected.
If a console or gaming device does not recognize the DAC, use the model’s compatibility mode if provided, such as UAC 1.0 on DACs that include it. For storage playback from a USB drive, check that the file type and sampling rate are supported by that specific USB storage input.
For optical or coaxial problems, make sure the source is outputting PCM if the DAC input does not support the format being sent.
TVs can be especially confusing if they are set to surround bitstream formats instead of stereo PCM.
Check the optical cable seating and remove protective caps from Toslink connectors.
For Bluetooth problems, re-pair the device, confirm the codec supported by both devices, and reduce distance.
If latency matters for video or gaming, use a low-latency mode only if both the DAC and source support the relevant codec or gaming setting.
For calls, move to a quieter room if the DAC’s microphone does not filter background noise effectively.
For hum or noise, simplify the system.
Test the DAC with one source and one output.
Move power supplies away from analog cables, try a different USB port, and compare optical input if available because optical breaks the electrical link between source and DAC. If a desktop DAC includes grounding, isolation, or power-supply design intended to reduce interference, those features help only when the rest of the system is connected sensibly.
- Check input selection, output selection, volume, mute, and cable seating first.
- Use the DAC display or app to confirm signal lock and sample rate.
- Test one source and one output at a time.
- For TV optical, set the TV audio output to stereo PCM if needed.
- For USB, bypass hubs and adapters during troubleshooting.
- For Bluetooth, re-pair and move the source closer.
External DAC setup checklist
- Choose the digital input that matches your source: USB, optical, coaxial, AES/EBU, Bluetooth, storage USB, or network.
- Connect the analog output to the right destination: RCA or XLR for amplifiers and active speakers, headphone output for headphones.
- Set fixed output when feeding an amplifier or preamp with its own volume control.
- Use variable output only when the DAC is safely acting as the volume control for active speakers or a power amp.
- Start with low volume and low gain, especially with sensitive IEMs or a new headphone.
- Confirm the DAC’s active input, output mode, sample rate, codec, and battery or power status on the display or app.
- Use the correct power method: USB power, internal battery, external supply, or AC mains depending on the DAC.
- Keep the DAC ventilated, stable, and free from cable strain.
- Leave EQ flat for first setup, then adjust carefully if needed.
- Troubleshoot by simplifying the chain to one source, one DAC input, and one output.
Common external DAC setup mistakes and how to avoid them
Using the wrong USB port on the DAC.
Check the labels.
A PC USB input is for computer audio, while a USB storage input may be for drive playback and may support different formats.
Feeding an amplifier with variable output at high volume.
Use fixed output into an integrated amp, preamp, or headphone amp.
If variable output is required, start very low and raise volume slowly.
Assuming XLR or balanced headphone output is always better.
Use XLR only when the receiving component has proper balanced inputs.
Use balanced headphone outputs only with the correct balanced cable.
Changing filters, EQ, gain, and output modes all at once.
Confirm basic playback first, then change one setting at a time so you know what each adjustment does.
Expecting a small portable DAC/amp to drive every full-size headphone with authority.
Check whether the headphone is demanding and consider a more powerful desktop headphone amplifier if the portable DAC/amp cannot provide comfortable headroom.
Troubleshooting Bluetooth or USB before checking input selection and mute.
Look at the DAC display or app first.
Confirm active input, signal lock, volume, mute, output mode, and battery status.
Frequently asked questions
Should I use USB, optical, or coaxial for my external DAC?
Use USB for computers and phones when you want the widest format support your DAC offers.
Use optical for TVs, consoles, and situations where electrical isolation is useful.
Use coaxial for CD transports and streamers with S/PDIF coax output. The best choice is the one both your source and DAC support reliably.
What is the difference between fixed and variable DAC output?
Fixed output sends a constant line-level signal to an amplifier or preamp that controls volume.
Variable output lets the DAC control volume, which can be useful with active speakers or direct power-amp connections.
Variable output requires caution because a high DAC volume setting can be very loud.
Can I plug headphones into the RCA or XLR outputs on the back of a DAC?
No.
Rear RCA and XLR line outputs are meant for amplifiers, preamps, or active speakers.
Headphones should be connected only to a proper headphone output on a DAC/amp or separate headphone amplifier.
Why does my DAC show a sample rate but I hear no sound?
If the DAC shows a locked signal, the source is probably reaching the DAC.
Check output selection, fixed/variable mode, mute, volume, headphone gain, the amplifier input, and whether the active output is RCA, XLR, or headphones.
Do DAC filters and EQ need to be adjusted immediately?
No.
Start with default filters and flat EQ so you can verify the system works.
After that, filters can be tried as subtle preference settings, while EQ should be used carefully for specific corrections such as bass balance, vocal clarity, or headphone matching.
Why is Bluetooth not using the codec I expected?
Bluetooth codec choice depends on both the DAC and the transmitting device.
If one side does not support LDAC, aptX HD, aptX Adaptive, AAC, or another codec, the connection will fall back to a shared option.
Check both devices and re-pair if needed.
Conclusion: set the DAC up as a system, not just a box
A good external DAC setup starts with the signal path: source into the correct digital input, DAC output into the correct amplifier or headphones, and the right power mode for the unit.
USB is usually the most flexible computer connection, optical and coaxial remain useful for TVs and transports, AES/EBU suits compatible high-end or studio-style sources, and Bluetooth or network playback adds convenience when supported.
On the output side, use RCA or XLR for line-level connections, headphone sockets for headphones, fixed output for normal amplifier use, and variable output only when the DAC is intentionally controlling volume. Keep gain low at first, treat filters and EQ as careful adjustments rather than mandatory upgrades, and use the display or app to confirm input, sample rate, codec, battery, and output status. If something goes wrong, simplify the chain and test one connection at a time. That methodical approach prevents most DAC setup problems and gives the converter the best chance to perform cleanly in your system.

Join the discussion
Share your thoughts, listening impressions or product experience.