


Room correction is one of the most useful tools built into modern AV receivers and AV processors.
Systems such as Audyssey MultEQ XT32, Dirac Live, and Anthem Room Correction measure how your speakers and subwoofer behave in your room, then apply digital adjustments to improve tonal balance, bass integration, timing, and surround consistency.
In a home cinema system, that can mean clearer dialogue, more convincing movement between speakers, tighter low-frequency effects, and a larger listening area that sounds more even. But room correction is not magic. It works best when the system is connected correctly, the speakers are placed sensibly, and the calibration microphone is used with care. This guide explains how to prepare, run, check, and fine-tune AV receiver room correction for better movie, streaming, disc, and gaming sound.
What AV receiver room correction actually does
Room correction is a digital signal processing feature inside an AV receiver or AV processor.
It uses a microphone to measure sound from each speaker and subwoofer at one or more listening positions.
The receiver then calculates settings such as speaker distance, channel level, crossover points, equalization, and sometimes time-domain correction. In simple terms, it tries to make the sound reaching your seats more balanced and coherent.
In home cinema, this matters because soundtrack effects are built around precise speaker relationships.
Dialogue is usually anchored in the center channel, music and effects spread across the front stage, surrounds create space behind and beside you, height speakers carry Atmos or DTS:X effects, and the subwoofer handles deep bass and impact.
If one channel is too loud, too delayed, or tonally mismatched, the illusion suffers.
Different brands use different systems.
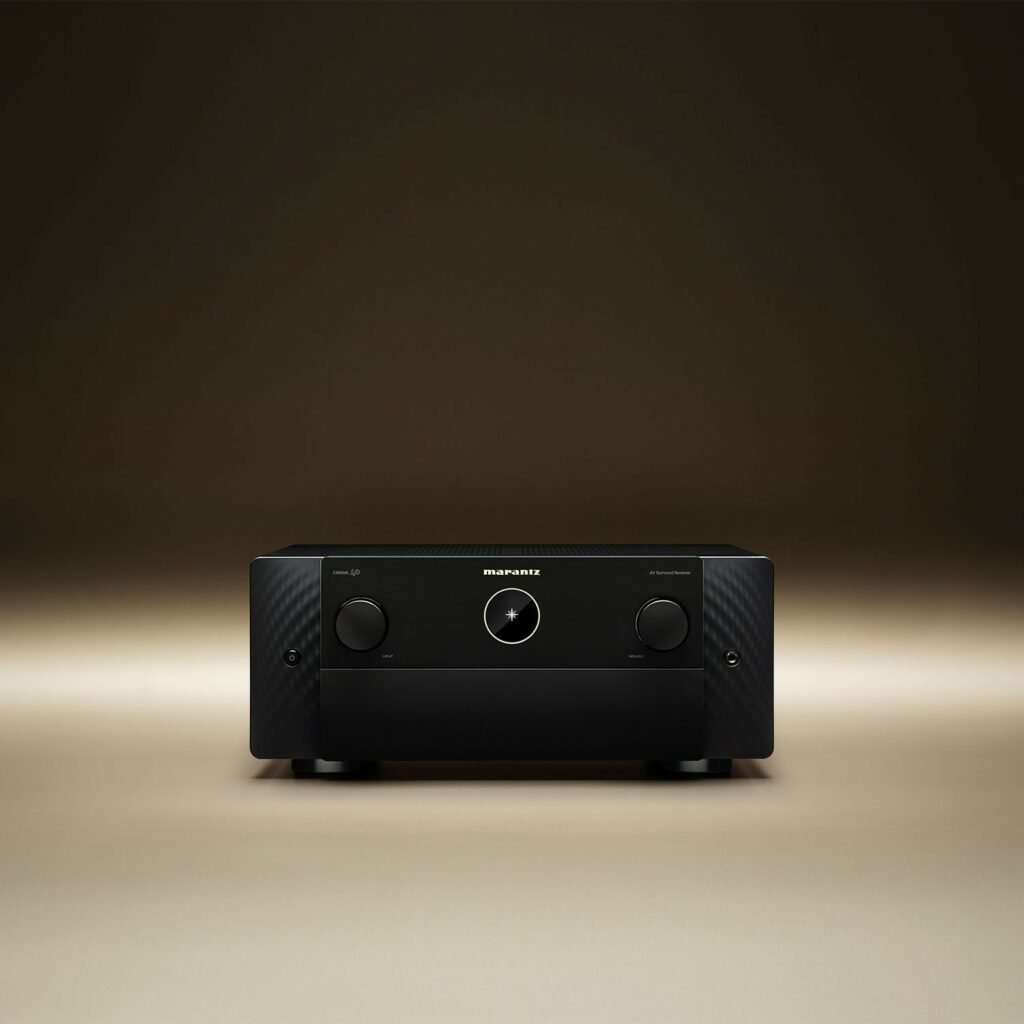
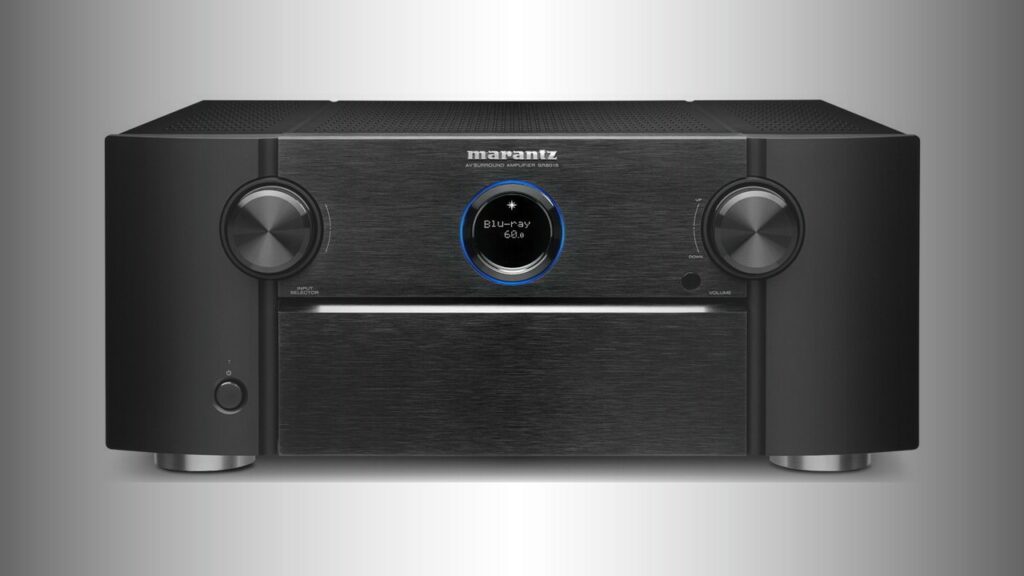
Marantz receivers and processors such as the CINEMA 40, SR8015, and AV7706 include Audyssey MultEQ XT32, with related tools such as Dynamic EQ, Dynamic Volume, LFC, and Sub EQ HT on supported models.
JBL Synthesis uses Dirac Live in the SDR-40, which is designed to adjust both frequency response and time-domain behavior. Anthem receivers such as the MRX 1140 use ARC Genesis, Anthem’s room correction software for compatible products. The exact screens differ, but the setup principles are similar.
Prepare the room before running calibration
The best calibration starts before you press the first setup button.
Room correction cannot fully compensate for a badly wired system, blocked speakers, random subwoofer placement, or a noisy room.
Treat calibration as the final tuning stage after the basic home cinema installation is already sensible.
Set the room as it will be used for movie watching.
Put the sofa, chairs, rug, curtains, projector screen, TV cabinet, and major furniture in their normal positions.
If you normally close curtains during films, close them. If you normally watch with the projector screen down, lower it. The microphone should measure the real cinema environment, not a temporary empty-room version.
Turn off avoidable noise.
Heating, air conditioning, dishwashers, fans, and conversations can interfere with measurements.
Keep pets and people away from the microphone positions during test tones. The tones may be loud, so warn anyone nearby before you start.
- Place all speakers and the subwoofer in their intended movie-watching positions before calibration.
- Connect every speaker securely to the correct AV receiver terminals, observing positive and negative polarity.
- Connect powered subwoofers to the receiver’s subwoofer output or outputs, not to ordinary speaker terminals.
- Set the TV, projector, and sources aside for the moment; room correction is mainly about audio measurement.
- Make the room quiet and arrange furniture as it will be during normal home cinema use.

Check speaker layout and format compatibility
Before running room correction, confirm that the receiver knows your actual speaker layout.
A 5.1 system, a 5.2 system, a 7.1.4 Dolby Atmos layout, and a system with four subwoofers require different assignments.
If the receiver is told the wrong layout, calibration results will not match your real installation.
Modern AV receivers can support many formats, but the installed speakers decide what you can physically reproduce.
A Yamaha YHT-4970U package, for example, is a traditional 5.1-channel system with compact satellites and an active subwoofer, even though its receiver supports Dolby Atmos playback through virtual surround processing.
By contrast, high-channel receivers such as the Marantz CINEMA 40, Marantz SR8015, Anthem MRX 1140, and JBL Synthesis SDR-40 are designed for more ambitious immersive layouts with height or extra surround channels, depending on configuration.
Object-based audio formats such as Dolby Atmos and DTS:X place sound effects in a three-dimensional space rather than only assigning them to fixed channels.
To hear real height effects, you need height, ceiling, or elevation speakers and a receiver configuration that matches them.
Virtual modes can create a sense of spaciousness without those speakers, but they are not the same as a physical height-speaker installation.
- Open the receiver’s speaker setup or setup assistant menu.
- Select the actual number of speakers and subwoofers installed in the room.
- Assign height, surround back, or extra channels only if those speakers are physically connected.
- If using an AV processor such as the Marantz AV7706, confirm that external power amplifiers are connected to the correct pre-outs.
- If using eARC from a smart TV, confirm that the receiver and TV are connected through the appropriate HDMI/eARC ports before final use.
Set subwoofers correctly before measurement
Bass is the hardest part of home cinema to get right because low frequencies interact strongly with the room.
A subwoofer may sound boomy in one seat and weak in another.
Room correction can help, especially when a receiver includes multi-sub tools such as Audyssey Sub EQ HT for coordinating two subwoofers, but the starting setup still matters.
If your receiver has more than one subwoofer output, connect each powered subwoofer to the receiver as instructed by the setup menu.
Some receivers can manage multiple subwoofers independently, while simpler systems may send the same signal to both outputs.
The Marantz CINEMA 40 is described as supporting multi-sub calibration, and Marantz models such as the AV7706 and SR8015 include Sub EQ HT for two-subwoofer coordination.
Do not try to make the subwoofer sound impressive before calibration by turning its level very high.
Room correction needs usable measurement headroom.
If the setup program tells you the subwoofer is too loud or too quiet, adjust the subwoofer gain control and repeat that step.
- Connect powered subwoofers with the system powered off, then power everything back on safely.
- Set any subwoofer low-pass or crossover control to its bypass/LFE position if available, so the receiver manages bass routing.
- Start with a moderate subwoofer volume setting rather than maximum gain.
- Place the subwoofer where it can operate freely, not sealed inside a cabinet or blocked by furniture.
- If using two subwoofers, connect and identify both before running calibration, not after.
Use the calibration microphone properly
The calibration microphone is the receiver’s measuring instrument.
Its position directly affects the result.
Use the microphone supplied or specified for the room correction system. Do not substitute a random headset or phone microphone unless the manufacturer’s system explicitly supports it.
Place the microphone at seated ear height in the main listening position.
Avoid holding it in your hand, because body movement and reflections can alter the measurement.
A camera tripod or stable microphone stand is ideal. Keep the microphone clear of cushions, seat backs, walls, and tables. It should hear the room the way your ears do, not the sound trapped against a surface.
Most systems ask for multiple measurement positions.
These positions should represent the real seating area, not random points around the room.
Start with the main seat, then move around nearby seats or positions within the couch area. Do not place the microphone at the ceiling, on the floor, or far outside the listening zone unless the software specifically instructs you to do so.
- Plug the calibration microphone into the receiver or computer interface required by the correction system.
- Mount it at ear height in the main cinema seat.
- Point or orient it according to the instructions for your specific system.
- Run the first measurement at the main listening position.
- Move the microphone only when the setup program asks for the next position.
Run Audyssey, Dirac Live, ARC Genesis, or your receiver’s setup assistant
Most receivers guide you through calibration step by step.
Marantz receivers are noted for clear setup assistants, and models such as the CINEMA 40 also allow speaker presets, which can be useful if you want separate configurations for movie night and late-night listening.
Anthem receivers include a web user interface, while ARC Genesis runs as software for compatible Anthem and Paradigm products. Dirac Live, used in products such as the JBL Synthesis SDR-40, typically involves measurement and filter creation before results are sent to the device.
Follow the on-screen order exactly.
Test tones will play from each speaker.
The receiver is checking whether speakers are present, how loud they are, how far away they appear acoustically, and how the room changes their response. If a speaker is not detected, stop and fix the connection rather than accepting a bad result.
After measurement, save the calibration file or receiver memory if your system offers that option.
If the receiver supports multiple presets or profiles, keep one known-good calibration before experimenting.
That makes it easier to return to a stable setup.
- Start the receiver’s setup assistant or the room correction software.
- Confirm the speaker layout shown on screen before measurements begin.
- Let the test tones play without talking or walking around the room.
- Fix any missing-speaker or phase warning before continuing, unless you are certain the warning is caused by a known speaker design or placement issue.
- Save the completed calibration and name the preset clearly if the receiver allows it.
Review the results instead of trusting them blindly
Room correction usually sets distances, levels, crossovers, and equalization automatically, but you should still inspect the results.
A very unexpected speaker distance, missing channel, or extreme level trim can indicate a wiring mistake, wrong speaker assignment, or microphone problem.
Speaker distance in an AV receiver is really a delay setting.
It helps sound from each channel arrive at the listening position at the right time.
Subwoofer distances may look different from the tape-measure distance because the electronics inside powered subwoofers can add delay. Do not automatically change subwoofer distance just because it looks unusual; first listen and check whether bass integration is coherent.
Crossovers decide which bass goes to the subwoofer and which bass stays with the speakers.
In home cinema, bass management is important because the LFE channel and redirected bass are central to movie impact.
Compact satellite speakers, such as those used in many 5.1 packages, should not be forced to play deep bass they cannot handle comfortably. If the receiver sets a speaker as large despite that speaker being compact, consider whether using bass management through the subwoofer is more appropriate for the system.
- Check that every connected speaker was detected in the correct location.
- Check that channel levels are not obviously extreme compared with the rest of the system.
- Check that crossovers make sense for the size of your speakers and the presence of a subwoofer.
- Play familiar movie dialogue and confirm that voices are centered and intelligible.
- Play a surround scene and confirm that effects move smoothly without one speaker dominating.
Fine-tune listening modes and late-night features
After calibration, choose listening modes that match the content and your speaker layout.
Native Dolby Atmos, DTS:X, Dolby TrueHD, DTS-HD Master Audio, or similar formats should normally be used when available from discs, streaming apps, or game consoles.
Upmixers and virtual modes can be useful when the source is stereo or 5.1, but they should be selected deliberately rather than left to guesswork.
Audyssey-equipped Marantz models may include Dynamic EQ, Dynamic Volume, and LFC.
Dynamic EQ is intended to help preserve tonal balance and bass fullness at lower listening levels.
Dynamic Volume evens out volume changes, which can help with TV programs or content with sudden level jumps. LFC is designed to reduce low-frequency transmission into adjacent rooms, useful for apartment or late-night viewing. These tools are practical, but they change the presentation, so enable them based on the situation.
If your receiver offers speaker presets, use them.
One preset can be optimized for full-range movie playback when noise is not a concern, while another can use neighbor-friendly features for late viewing.
The goal is not one perfect setting for every situation; it is controlled, repeatable sound for real home cinema use.
- Use native surround or immersive decoding when the source provides it.
- Try Dynamic EQ or similar low-volume compensation if movies sound thin at quiet levels.
- Use Dynamic Volume for late-night TV or inconsistent streaming levels, not necessarily for every serious movie session.
- Use LFC or similar bass containment when bass leakage into other rooms is a problem.
- Store different presets if your receiver supports them.
Troubleshooting poor calibration results
If calibration makes the system sound worse, do not assume room correction is useless.
Most bad results come from setup errors, microphone placement problems, wrong speaker assignments, or unrealistic expectations.
Start by checking the basics: wiring, polarity, speaker layout, subwoofer connection, and the microphone positions used during measurement.
If dialogue is unclear after calibration, check the center speaker first.
Make sure it is connected to the center output, aimed toward the seats, not blocked by a cabinet lip, and not set far too low in level.
If surround effects feel detached or distracting, inspect surround speaker levels and distances. If bass is boomy or weak, rerun the subwoofer level step and consider changing subwoofer placement before recalibrating.
If HDMI sources are the problem rather than the sound balance, separate the issues.
Room correction will not fix an eARC handshake, a wrong console audio setting, or a TV app outputting stereo instead of surround.
Modern receivers may support HDMI 2.1 features such as 8K/60, 4K/120, VRR, ALLM, and eARC, but every device in the chain must be configured correctly for video and audio formats to pass as expected.
- Rerun calibration if the microphone was moved, blocked, or placed incorrectly.
- Check the receiver’s input signal display to confirm whether the source is stereo, 5.1, Atmos, or DTS:X.
- Verify that HDMI cables are connected to the correct TV/projector and receiver ports for eARC or gaming features.
- If one speaker sounds wrong, swap nothing at first; inspect the wiring and channel assignment in the menu.
- If bass remains uneven, try a different subwoofer position and recalibrate.
Concise AV receiver room correction setup checklist
- Place speakers, subwoofer, seats, screen, and major furniture in their normal home cinema positions.
- Confirm speaker wiring, polarity, and channel assignment before calibration.
- Set the correct speaker layout in the receiver: 5.1, 5.2, 7.1.4, or your actual configuration.
- Connect powered subwoofers to the receiver’s subwoofer outputs and start with moderate gain.
- Use the supplied or specified calibration microphone on a stand at seated ear height.
- Measure the main listening position first, then the surrounding seating area as instructed.
- Keep the room quiet during test tones.
- Review detected speakers, distances, levels, and crossovers after calibration.
- Save the calibration or preset before experimenting.
- Use Dynamic EQ, Dynamic Volume, LFC, virtual modes, or alternate presets only when they suit the viewing situation.
Common room correction mistakes and how to avoid them
Running calibration before the room is fully set up.
Place furniture, speakers, subwoofer, curtains, and screen as they will be during real movie watching, then run the measurements.
Holding the microphone by hand.
Use a tripod or stable stand at seated ear height so the microphone stays still and unobstructed.
Choosing the wrong speaker layout in the receiver menu.
Tell the receiver only about speakers that are physically installed and connected.
Do not enable height or surround back channels just because the receiver supports them.
Turning the subwoofer gain too high before calibration.
Start at a moderate level and follow the receiver’s level-matching prompts.
Excessive gain can lead to poor correction and boomy bass.
Ignoring warnings about missing speakers or incorrect wiring.
Stop the calibration and check connections, polarity, amplifier assignment, and pre-out wiring before continuing.
Expecting room correction to fix bad placement completely.
Use correction as final tuning.
Move blocked speakers, improve center-channel aiming, and experiment with subwoofer position when the basic sound is poor.
Using late-night processing all the time without listening.
Features such as Dynamic Volume and LFC are useful tools, but they change the soundtrack presentation.
Enable them when needed, and keep a fuller preset for normal movie sessions.
Frequently asked questions
Do I need room correction for a small 5.1 home cinema system?
Yes, it can still help.
Even a compact 5.1 system benefits from correct channel levels, distances, bass management, and subwoofer integration.
A simple system may not create the same scale as a larger Atmos layout, but calibration can make it more balanced and easier to listen to.
Is Audyssey MultEQ XT32, Dirac Live, or ARC Genesis better for every room?
They are different systems with different workflows.
Audyssey MultEQ XT32 is used in several Marantz AV receivers and processors and can work with features such as Dynamic EQ, Dynamic Volume, LFC, and Sub EQ HT.
Dirac Live, found in products such as the JBL Synthesis SDR-40, addresses frequency response and time-domain behavior. ARC Genesis is Anthem’s correction software for compatible Anthem and Paradigm products. The best result depends on careful setup as much as the correction platform.
Should I rerun room correction after moving my subwoofer?
Yes.
Moving a subwoofer can significantly change bass response at the seats.
After any meaningful subwoofer move, rerun the calibration so the receiver can reset levels, timing, and equalization.
Why does my receiver set a strange distance for the subwoofer?
AV receiver distance settings are really delay settings.
A powered subwoofer’s internal electronics can add delay, so the calculated distance may not match a tape measure.
If the bass integrates well with the speakers, the setting may be doing its job.
Can room correction make virtual Dolby Atmos sound like real height speakers?
No.
Virtual processing can create a more spacious impression in systems without height speakers, such as a traditional 5.1 package, but it cannot fully replace physical height or ceiling speakers in an immersive home cinema layout.
Will room correction fix HDMI or eARC audio problems?
No.
Room correction adjusts speaker and room sound; it does not solve format handshakes or source-output settings.
If you are not getting Atmos, DTS:X, or surround sound from a TV app, console, or player, check HDMI/eARC connections and the audio output settings on each device.
Conclusion: measure carefully, then fine-tune for real movie use
AV receiver room correction is one of the most effective ways to improve home cinema sound, but it works best as part of a complete setup process.
First, place and connect the speakers and subwoofer correctly.
Next, select the real speaker layout, quiet the room, and use the calibration microphone at seated ear height across the actual listening area. After running Audyssey, Dirac Live, ARC Genesis, or your receiver’s own system, review the results instead of accepting them blindly. Check speaker detection, levels, distances, crossovers, and subwoofer behavior. Finally, use listening modes and tools such as Dynamic EQ, Dynamic Volume, LFC, Sub EQ HT, presets, or virtual surround only when they suit your room and viewing habits. Done carefully, room correction can give your home cinema clearer dialogue, smoother surround movement, better bass control, and a more convincing movie experience without changing the entire system.
