

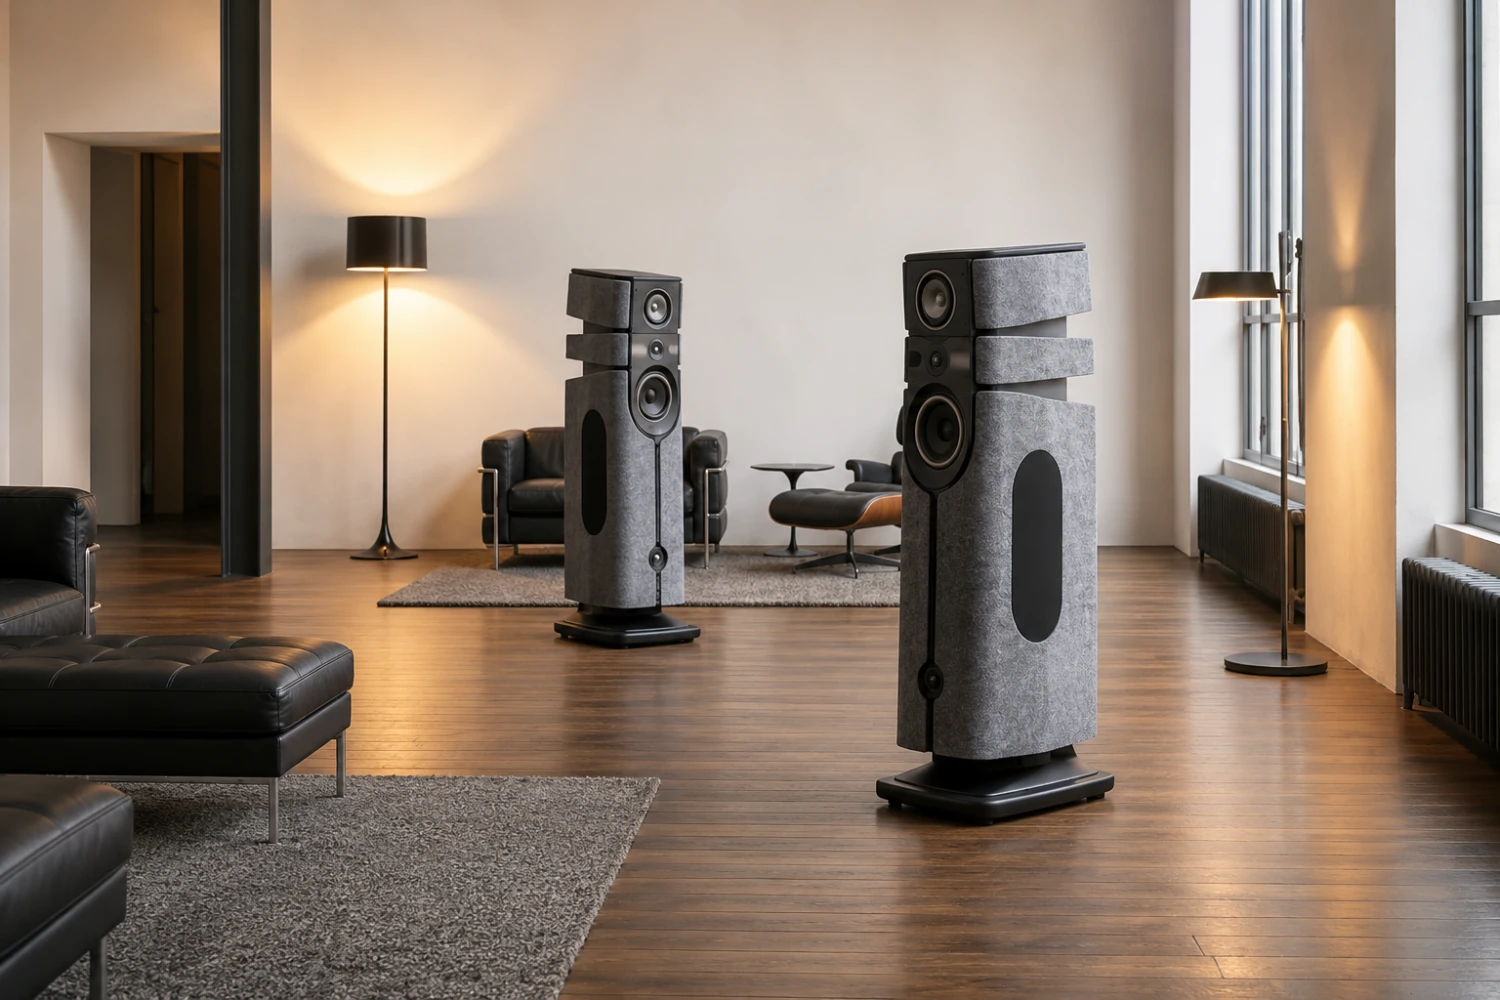
Speaker placement is one of the highest-value upgrades in hi-fi because it costs nothing but can change almost everything you hear: stereo imaging, vocal focus, bass weight, tonal balance, and how evenly the system fills the room.
Bookshelf speakers, standmount monitors, and floorstanding speakers all interact with the room differently, but the goal is the same: let the speakers work as a stereo pair rather than as two separate sound sources.
This guide explains how to place, connect, adjust, and troubleshoot passive and active loudspeakers so they sound more balanced in a real listening room.
Start with the room, not the speakers
A loudspeaker does not operate in isolation.
Its direct sound reaches your ears first, then reflected sound arrives from the side walls, rear wall, floor, ceiling, furniture, and windows.
The combination determines whether the image locks in place or becomes vague, whether bass sounds tight or boomy, and whether the tonal balance feels natural or uneven.
The first decision is orientation.
In many rooms, placing the speakers on the shorter wall and firing down the longer dimension gives bass more space to develop and moves the listening seat farther from the front wall.
However, room layout, doorways, windows, and furniture may force a different arrangement. Do not assume the most visually convenient wall is the best acoustic wall.
Bookshelf and floorstanding speakers also differ in how much space they normally need.
A compact monitor can often be easier to position precisely because it sits on a stand and can be moved in small increments.
Some monitor designs are valued for placement flexibility and stereo imaging advantages, while larger floorstanding speakers can provide greater scale and low-frequency output but may excite room bass more strongly. Larger speakers are not automatically better in small rooms if placement options are limited.
- Clear a practical listening area before you begin adjusting speaker position.
- Remove obvious obstacles between each speaker and the listening seat, such as tall furniture or stacks of records directly in front of the drivers.
- If possible, begin with the system firing down the longer room dimension, then compare with the alternative orientation if the room allows it.
- Keep the listening seat away from being pressed directly against the rear wall when possible, because that position often exaggerates bass and reduces depth.
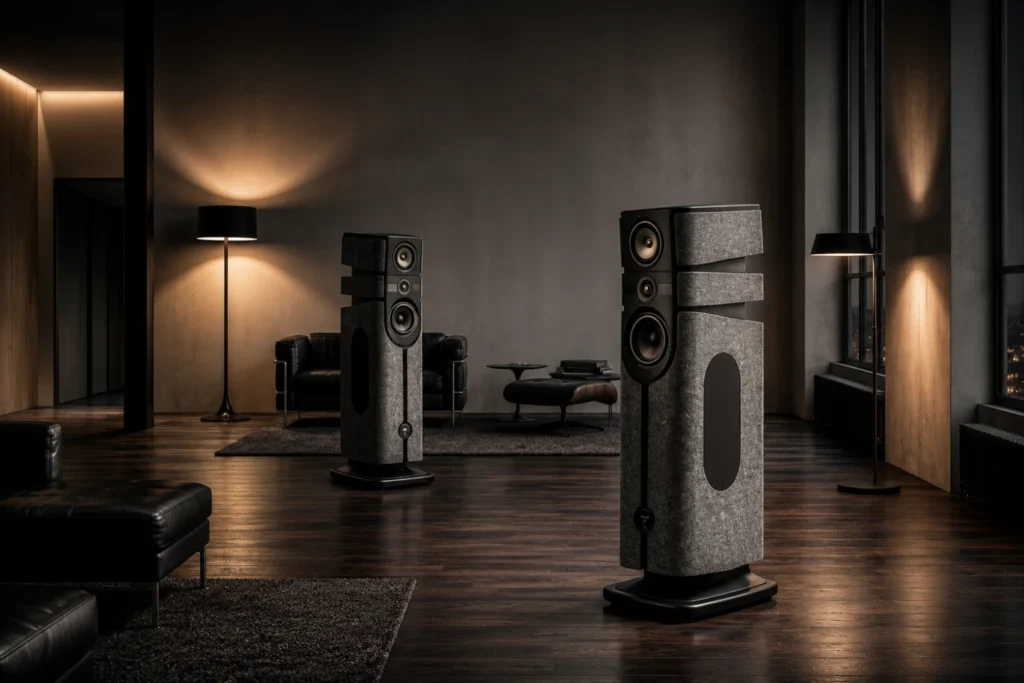
Build a stable stereo triangle
The classic starting point for stereo placement is an equilateral triangle: the distance between the two speakers is similar to the distance from each speaker to the listening position.
This is not a rule that must be obeyed exactly, but it gives you a reliable baseline for imaging.
Imaging means the ability of the system to create stable positions for voices and instruments between and beyond the speakers.
When placement is right, the speakers seem to disappear and the center image becomes solid.
When placement is wrong, vocals may pull left or right, the soundstage may collapse, or the system may sound wide but hollow in the middle.
Symmetry matters.
Try to give the left and right speakers similar surroundings.
If one speaker is next to a glass wall and the other is next to an open doorway, the stereo image may lean or sound uneven. Perfect symmetry is rare in real homes, but the closer you get, the easier the speakers are to balance.
- Place the speakers so the tweeters are at roughly ear height when you are seated.
- Start with the speakers and listening seat forming a triangle of roughly equal sides.
- Measure from each speaker to the listening position and make the left and right distances equal.
- Check that both speakers are the same distance from the front wall behind them.
- Play a centered vocal recording and confirm that the voice appears between the speakers, not stuck to one side.
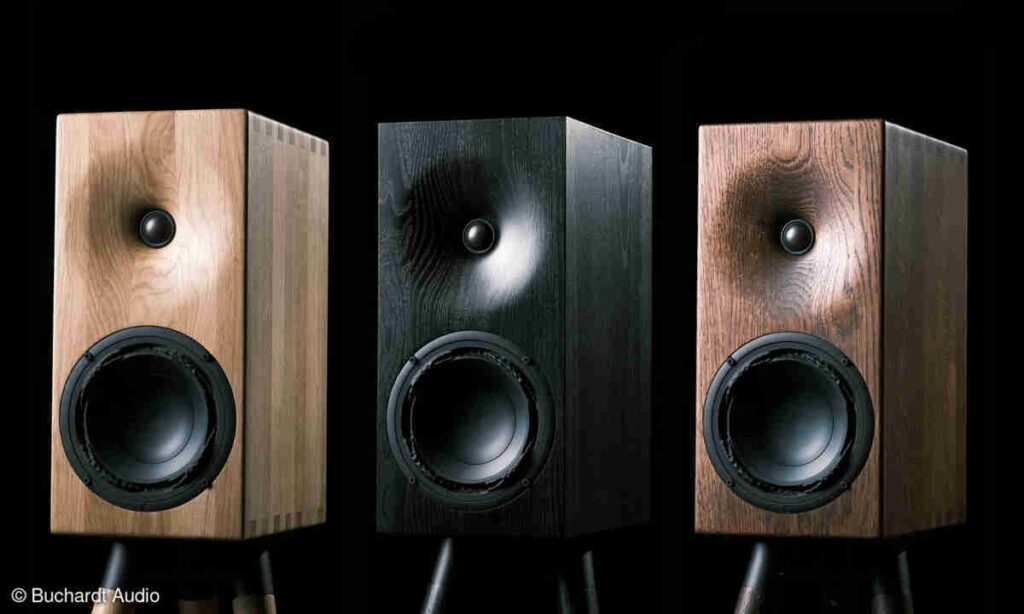
Set bookshelf speakers on proper stands or solid supports
Despite the name, bookshelf speakers usually perform best when they are not buried inside a bookshelf.
A shelf can surround the cabinet with reflective surfaces, reinforce bass unevenly, and place the tweeter too low or too high.
A rigid stand gives the speaker space to breathe and lets you set height, toe-in, and distance from walls accurately.
Some modern monitor speakers are designed to deliver strong bass and expansive imaging from compact cabinets, but that performance still depends on support and placement.
A standmount speaker with advanced drivers, waveguide control, or carefully engineered cabinets cannot overcome a wobbly table, a resonant shelf, or a tweeter aimed at your knees.
Use stands that are stable, level, and appropriate for the speaker’s footprint.
If the stands include cable management, use it to keep speaker cables neat and away from foot traffic.
If the speaker or stand provides pads, isolation material, or mounting hardware, use it according to the manufacturer’s instructions.
- Choose stands that place the tweeter close to seated ear height.
- Set each speaker so the front baffle is flush with or slightly forward of the stand’s top plate, rather than pushed far back.
- Make sure the speaker cannot slide easily; use suitable pads or manufacturer-approved fixing methods.
- Avoid placing the rear of a rear-ported speaker tight against a bookcase back panel unless the manufacturer specifically allows it.
- Check that both stands are level and do not rock.

Give floorstanding speakers room and secure footing
Floorstanding speakers usually move more air and often reach deeper into the bass than compact monitors.
That can be rewarding, but it also makes placement more critical.
If a floorstander is too close to boundaries, the bass may become thick, slow, or one-note. If it is unstable on the floor, cabinet movement can blur bass definition and imaging.
Many high-end floorstanding designs pay close attention to cabinet resonance, internal standing waves, front baffle behavior, and floor coupling.
Examples from recent speaker engineering include rigid front baffles, tapered cabinets intended to reduce internal reflections, substantial outriggers, height-adjustable feet, and decoupling systems designed to reduce energy transfer into the floor.
The practical lesson is simple: stability and resonance control matter.
Large loudspeakers can be very heavy.
Move them carefully, protect the floor, and do not try to lift or tilt a heavy cabinet alone.
If spikes, feet, or outriggers are supplied, install them only after reading the manual. Spikes can damage wood, tile, and stone floors, and heavy speakers can injure hands or feet if they tip.
- Position each floorstander upright on a stable, level surface.
- Install outriggers, spikes, feet, or decouplers according to the manufacturer’s instructions.
- Use floor protectors under spikes when needed.
- Level the speaker so it does not rock front to back or side to side.
- After final placement, recheck cable slack so the cable is not pulling the speaker out of position.
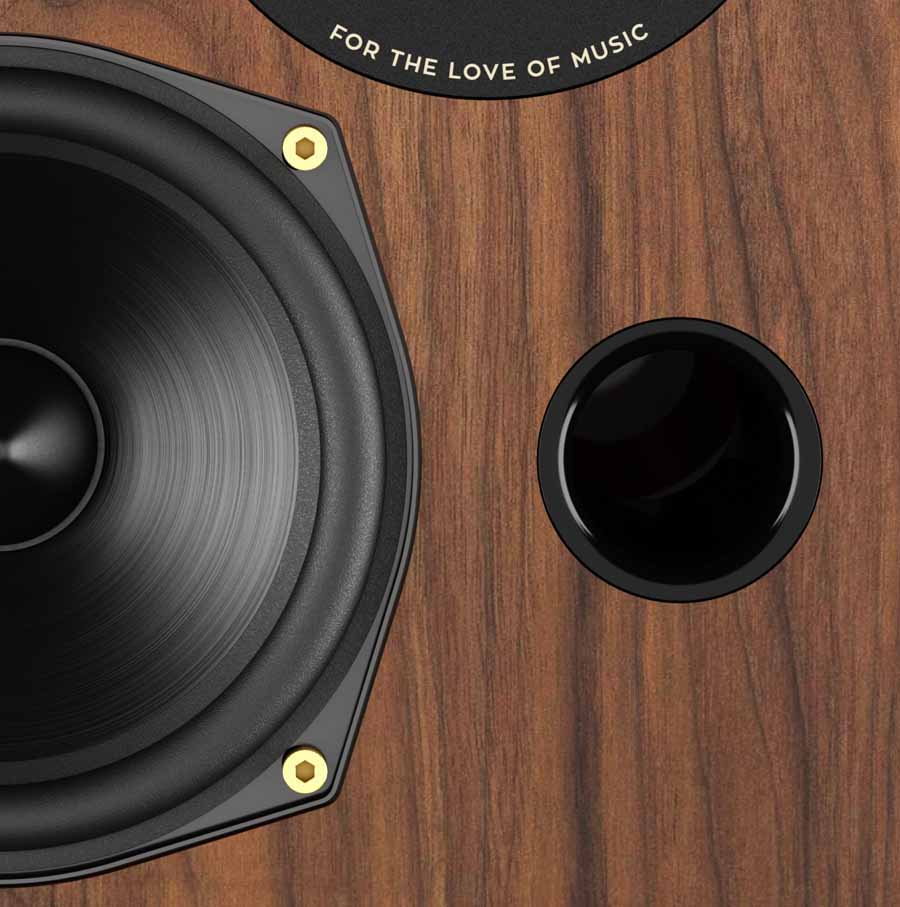
Control bass with wall distance and port awareness
Bass is the part of speaker placement most strongly shaped by the room.
Moving a speaker closer to a wall usually increases bass energy, while pulling it farther into the room often reduces boom and improves depth.
Corners reinforce bass even more because the speaker is close to two walls at once.
Bass-reflex speakers use ports to tune low-frequency output.
Some speakers have rear ports, some use multiple ports, and some use port arrangements intended to help room integration.
Rear-ported models need particular attention because the wall behind the speaker affects how the port output blends with the direct sound. This does not mean rear ports are bad; it means the final distance from the front wall should be chosen by listening, not by appearance.
If the bass sounds too light, first try moving the speakers slightly closer to the wall behind them.
If the bass sounds boomy or slow, move them farther out or away from corners.
Small changes can be audible, so adjust in increments rather than dragging the speakers randomly across the room.
- Begin with both speakers the same distance from the front wall.
- Avoid starting with speakers jammed into corners unless the room leaves no alternative.
- Move both speakers forward or backward in small equal steps and listen to bass lines, kick drum, and male vocals.
- If one side sounds bass-heavy, check whether that speaker is closer to a side wall, cabinet, or corner.
- Once bass is balanced, mark the speaker positions lightly with tape so you can return to them.
Use toe-in to sharpen imaging without narrowing the sound
Toe-in is the angle of the speakers toward the listening position.
With no toe-in, the speakers face straight ahead.
With strong toe-in, the tweeters point directly at your ears or even cross slightly in front of you. Toe-in affects treble balance, center focus, soundstage width, and how much side-wall reflection reaches the listening seat.
Some speakers are designed with controlled directivity or waveguide technology to maintain more consistent sound off-axis, meaning when you listen away from the exact center line of the tweeter.
Revel, for example, describes its Acoustic Lens waveguide approach as a way to support directional control and a wider, more consistent listening area.
Even with such designs, toe-in still matters because the room and listener position remain part of the system.
The right toe-in is the one that balances focus and openness.
Too little toe-in may create a wide but unfocused image.
Too much toe-in may make the center image precise but reduce spaciousness or make treble too direct.
- Start with the speakers aimed straight ahead.
- Rotate both speakers inward by the same small amount.
- Listen for a centered vocal image and stable placement of instruments.
- If the center image is weak, add more toe-in.
- If the sound becomes too narrow or bright, reduce toe-in slightly.
Match speaker size and output to the room
Room balance starts before placement: the speaker must be appropriate for the space and listening distance.
A small room can overload quickly with large floorstanders if they cannot be positioned away from walls.
A large room may leave small speakers sounding strained or bass-light unless supported by careful placement or a subwoofer.
Manufacturers often design different models for different room roles.
Some larger monitors are developed to provide greater range and output for larger listening rooms while preserving monitor-style imaging advantages.
Some substantial floorstanding line-source or multi-driver designs are intended for serious listening rooms and may be specified by their makers for large spaces. The useful takeaway is not that one format is universally superior, but that room size, listening distance, and bass capability must work together.
If you already own the speakers, placement is your main tool.
If you are planning a system, consider whether the room gives you enough space behind and beside the speakers.
A speaker that needs breathing room may disappoint if it must live inside a cabinet or tight against a wall.
- For small rooms, prioritize placement flexibility, controlled bass, and the ability to keep speakers out of corners.
- For larger rooms, make sure the speakers can deliver enough scale without being pushed into distortion.
- Do not choose floorstanders solely because they look more serious; choose them when the room can support their bass output.
- Do not choose compact speakers solely to save space if they will be expected to fill a very large room at high levels.
Connect and configure speakers safely before fine-tuning
Placement adjustments are easier when the system is connected correctly.
For passive speakers, always switch off the amplifier before connecting or disconnecting speaker cables.
Observe polarity: amplifier positive to speaker positive, amplifier negative to speaker negative. Reversed polarity on one speaker can weaken bass and destroy center imaging because the speakers are moving out of step with each other.
Some floorstanding and monitor speakers provide dual binding posts or bi-amp connections.
If you are using a single speaker cable per speaker, the factory jumpers or links must be correctly installed between the terminals.
If you remove jumpers for bi-wiring or bi-amping, follow the speaker and amplifier manuals carefully. Never guess with amplifier outputs.
Active and wireless speakers require a different setup.
In an active loudspeaker, amplification and sometimes DAC, DSP, streaming, or room optimization are built into the speaker.
Some systems provide app-based room adjustment or a cable option between speakers for higher-resolution transmission. For these designs, physical placement still comes first; digital correction should be used to refine the result, not to excuse poor positioning.
- Power off the amplifier before changing passive speaker cables.
- Confirm left and right channels are connected to the correct speakers.
- Confirm polarity is the same on both speakers.
- Check that binding posts are secure but do not overtighten them.
- For active speakers, complete network, app, and pairing setup only after the speakers are safely placed and powered according to the manual.
Fine-tune by listening in a repeatable way
Random listening makes placement frustrating.
Use a few familiar tracks and adjust only one variable at a time: distance from the front wall, distance between speakers, toe-in, or listening seat position.
Keep notes if needed. The goal is not to find a theoretical perfect placement, but to find the best compromise among imaging, bass, tonal balance, and domestic practicality.
Use music with a centered voice to judge imaging.
Use acoustic bass, kick drum, or low piano notes to judge bass evenness.
Use well-recorded cymbals, strings, or vocal sibilants to judge treble balance. If a recording always sounded bright or bass-heavy, do not use it as your only reference.
Make changes in pairs whenever possible.
If you move the left speaker forward, move the right speaker forward by the same amount.
If you toe one speaker inward, match the other speaker. Asymmetrical adjustments can help difficult rooms, but start with symmetry first.
- Choose three to five familiar tracks that reveal voice focus, bass control, and treble balance.
- Adjust speaker distance from the front wall first.
- Adjust distance between the speakers second.
- Adjust toe-in third.
- Make final small changes to the listening seat if bass remains uneven.
- Recheck all measurements and mark the final positions.
Troubleshooting: what the symptoms usually mean
If the center image is vague, first check polarity, then check equal distance from the listening seat, then adjust toe-in.
A single reversed speaker connection can make vocals sound diffuse and bass unusually weak.
Unequal distances can pull the image to one side.
If bass is boomy, reduce boundary reinforcement.
Move speakers away from the front wall or corners, move the listening seat away from the rear wall, and check whether a cabinet, alcove, or large piece of furniture is amplifying one side.
If bass is thin, try moving the speakers slightly closer to the front wall, reducing the distance between speakers, or checking polarity.
If the sound is bright or fatiguing, reduce direct tweeter energy by decreasing toe-in, adding soft furnishings at first-reflection points, or increasing distance from hard side walls.
If the sound is dull, increase toe-in, check tweeter height, and make sure grilles, furniture, or shelves are not blocking the drivers.
If one speaker sounds louder, swap channels at the amplifier to determine whether the issue follows the speaker or the electronics.
Also check balance controls, streaming app settings, room correction settings, and cable connections.
For active speakers, confirm both speakers are correctly paired and using the intended input or link method.
- When troubleshooting, change one thing at a time and listen again.
- Return to your marked baseline position if an adjustment makes the system worse.
- Do not compensate for major placement problems only with tone controls or EQ.
- If mechanical buzzing appears, check loose grilles, spikes, feet, terminal plates, and nearby objects before assuming the speaker is damaged.
Concise speaker placement checklist
- Set the left and right speakers at equal distance from the listening position.
- Place tweeters close to seated ear height.
- Keep both speakers stable, level, and free from rocking.
- Start with a stereo triangle, then fine-tune by ear.
- Move speakers away from corners if bass is boomy.
- Give rear-ported speakers space behind the cabinet and adjust by listening.
- Use toe-in to balance center focus, treble energy, and soundstage width.
- Power off amplifiers before changing passive speaker cables.
- Check polarity on both speakers before judging imaging or bass.
- Mark the final positions once the system sounds balanced.
Common speaker placement mistakes and how to avoid them
Placing bookshelf speakers deep inside shelves
Use rigid stands or open supports whenever possible.
Keep the tweeter at ear height and avoid surrounding the cabinet with reflective shelf surfaces.
Pushing floorstanding speakers into corners for stronger bass
Corners can exaggerate low frequencies and make bass boomy.
Start away from corners and move closer only if the system genuinely needs more bass weight.
Ignoring toe-in
Toe-in strongly affects imaging and treble balance.
Adjust both speakers inward in small, equal steps until the center image is stable without making the sound too narrow.
Using unequal left and right distances
Measure from each speaker to the listening seat and to the front wall.
Equal distances help vocals and instruments lock into place.
Forgetting speaker polarity
Connect positive to positive and negative to negative on both channels.
If one speaker is reversed, bass and imaging can suffer dramatically.
Relying on room correction before physical placement
For active or DSP-equipped speakers, place and aim the speakers properly first.
Use app-based room optimization or EQ only as final refinement.
Frequently asked questions
How far should speakers be from the wall behind them?
There is no universal distance because cabinet design, port layout, bass extension, and room size all matter.
Start with both speakers the same distance from the wall, then move them forward or backward in small equal steps.
Closer usually adds bass; farther out often improves bass definition and depth.
Should bookshelf speakers be placed on a bookshelf?
They can be if the room requires it, but they usually image better on rigid stands with the tweeter at seated ear height.
If they must sit on a shelf, bring them near the front edge, keep both speakers symmetrical, and avoid blocking rear ports.
Do floorstanding speakers need toe-in?
Usually, yes.
Toe-in helps control the balance between direct sound and room reflections.
Start with little or no toe-in, then rotate both speakers inward until vocals focus clearly in the center without making the sound too bright or narrow.
Why does bass sound strong in one seat and weak in another?
Low frequencies form peaks and dips in rooms as sound waves reflect from boundaries.
Moving the speakers or the listening seat even slightly can change bass balance.
If bass is uneven, adjust speaker distance from walls and avoid placing the listening seat directly against the rear wall.
Can room correction fix bad speaker placement?
Room correction, DSP, or app-based optimization can help refine the response, especially with active speakers that include such tools.
However, it cannot fully replace stable placement, correct polarity, suitable wall distance, and proper toe-in.
Should I use spikes, rubber feet, or decouplers under floorstanding speakers?
Use the support method supplied or recommended by the speaker manufacturer.
The aim is to keep the cabinet stable and reduce unwanted energy transfer.
Install feet or spikes carefully, protect delicate floors, and never tilt heavy speakers without help.
Conclusion: placement is the foundation of better speaker sound
Better imaging, bass, and room balance come from a methodical setup, not guesswork.
Start with a stable stereo triangle, keep the left and right speakers symmetrical, place tweeters at ear height, and give each speaker enough space from walls and corners.
Use stands for bookshelf speakers, secure footing for floorstanders, and small toe-in changes to refine the center image. Check cable polarity and terminal security before judging the sound, then fine-tune with familiar music one adjustment at a time. Once the speakers disappear, bass lines sound even, and vocals stay centered, you have found the placement that lets the system and room work together.



Join the discussion
Share your thoughts, listening impressions or product experience.