

Turntables are not quite like streamers, CD players, or most modern sources.
A cartridge produces a very small signal, the deck is sensitive to vibration, and the wrong input can make playback either extremely quiet, noisy, or distorted.
The good news is that most connection problems come down to a few basics: whether your turntable has a built-in phono preamp, whether it needs a ground wire, whether you are using wired or Bluetooth playback, and whether your speakers are passive or active. This practical guide explains how to connect a turntable correctly, how to avoid hum and mismatch problems, and how to configure a vinyl system that is simple, quiet, and reliable.
Understand the Three Main Turntable Signal Paths
Before connecting cables, identify which kind of turntable system you are building.
Most vinyl setups follow one of three paths: turntable to phono preamp to amplifier and passive speakers; turntable with built-in phono preamp to active speakers; or turntable with Bluetooth transmission to wireless speakers or headphones.
The key term is phono preamp, also called a phono stage or RIAA preamplifier.
A phono cartridge does not output the same kind of signal as a streamer or CD player.
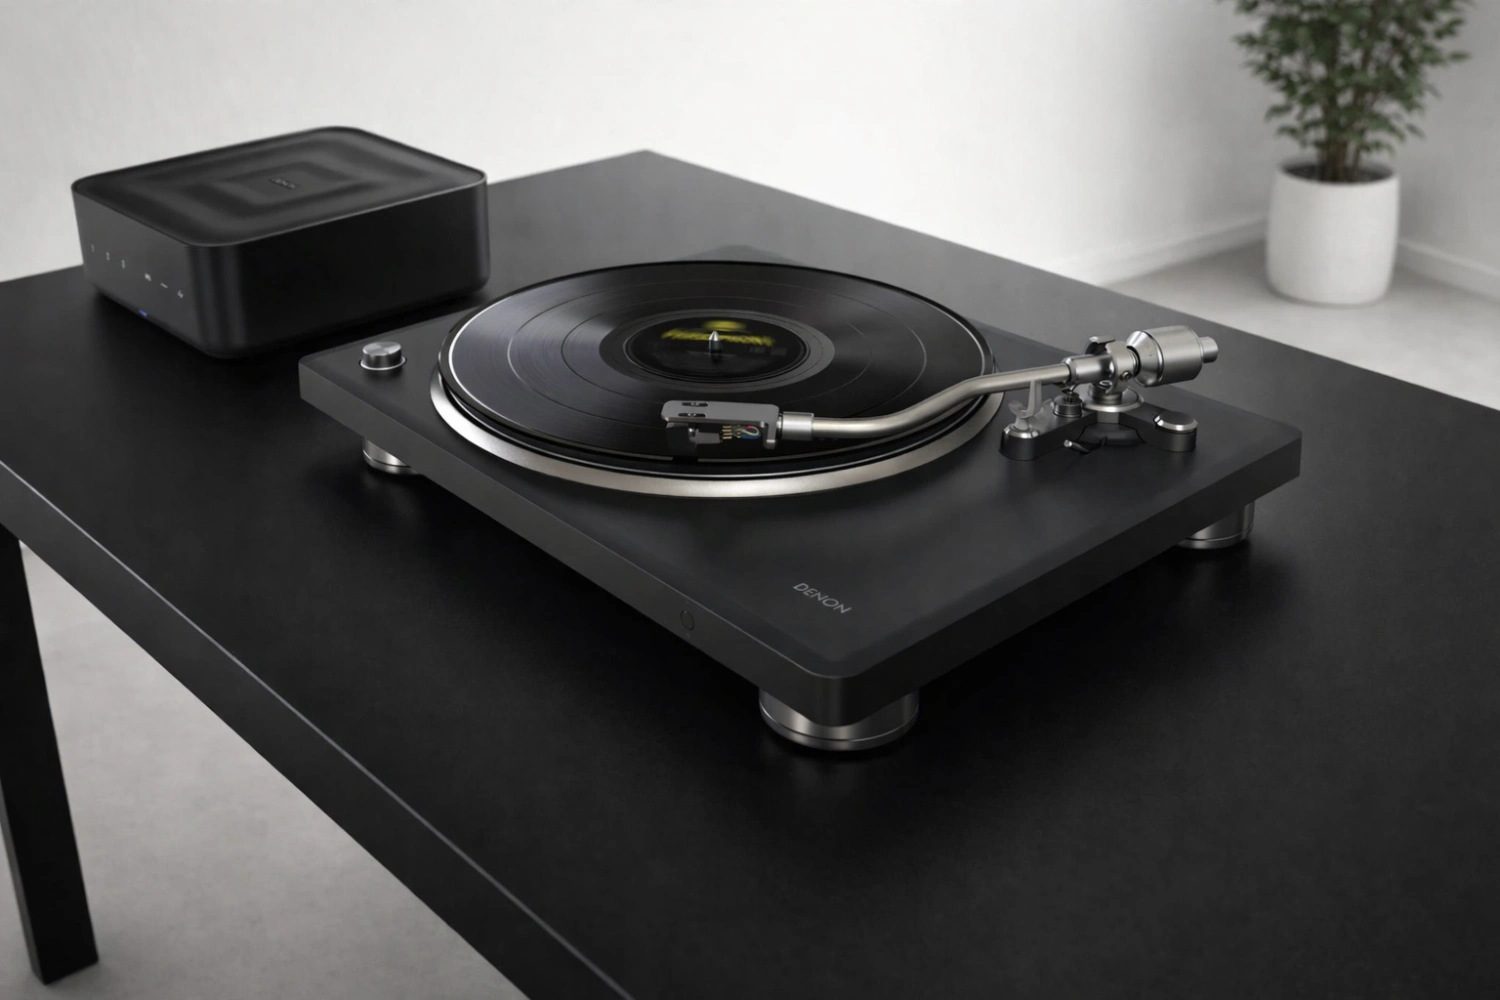
It needs special amplification and equalization before it can be used by a normal line-level input. Some turntables, such as the TEAC TN-400BTX and Denon DP-500BT, include a built-in switchable phono stage, which lets them connect directly to active loudspeakers or integrated amplifiers. Other turntables, such as the Pro-Ject Xtension 9 Evolution, do not include a built-in phono preamplifier, so they require an external phono stage or an amplifier with a phono input.
Active speakers have amplifiers built into the speaker system.
They usually expect a line-level signal, not the tiny raw signal from a cartridge.
That means a turntable can feed active speakers only if the turntable has its phono stage switched on, or if you place an external phono preamp between the turntable and speakers.
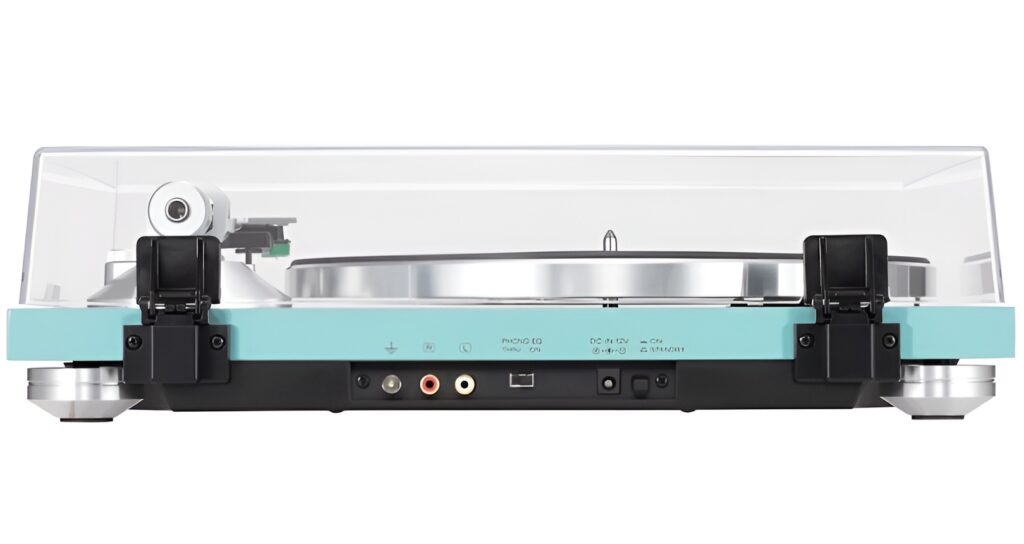
- Check the rear panel of the turntable for a switch marked Phono/Line, EQ On/Off, or similar.
- If the turntable is set to Phono, connect it to a phono input or external phono preamp.
- If the turntable is set to Line, connect it to a regular line input or directly to active speakers.
- If there is no built-in phono stage, assume you need a phono input or external phono preamp.
Connecting to an Amplifier or Receiver with a Phono Input
If your amplifier has a dedicated phono input, this is the most traditional connection method.
The turntable sends its cartridge signal to the amplifier’s phono stage, and the amplifier then drives passive speakers.
This is a clean solution when the phono input matches your cartridge type.
Most ready-to-play turntables in the supplied examples use moving magnet cartridges.
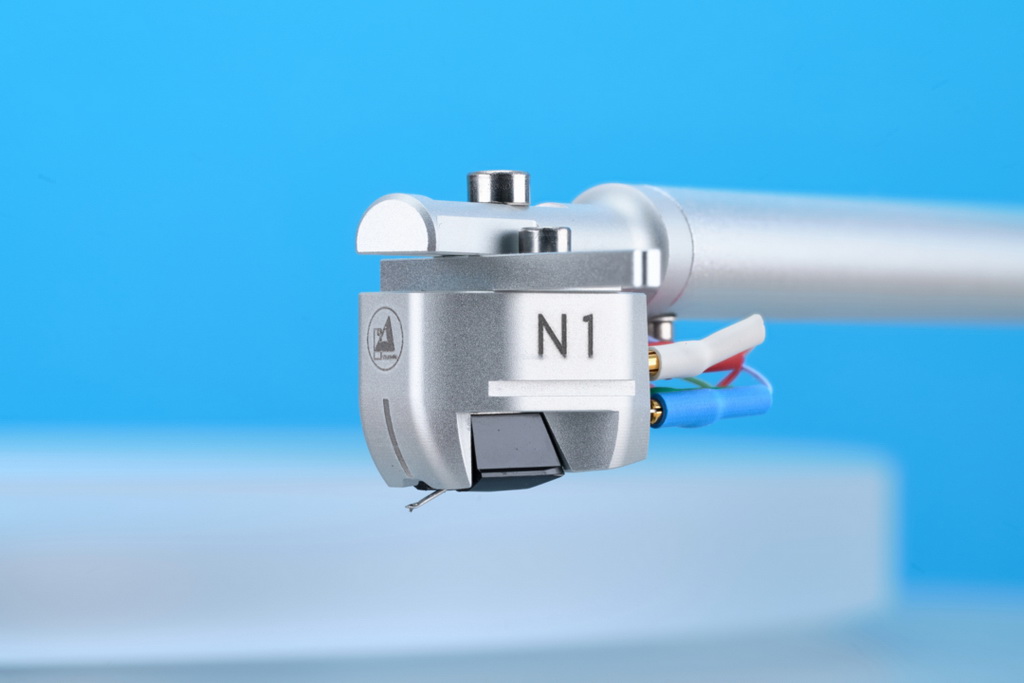
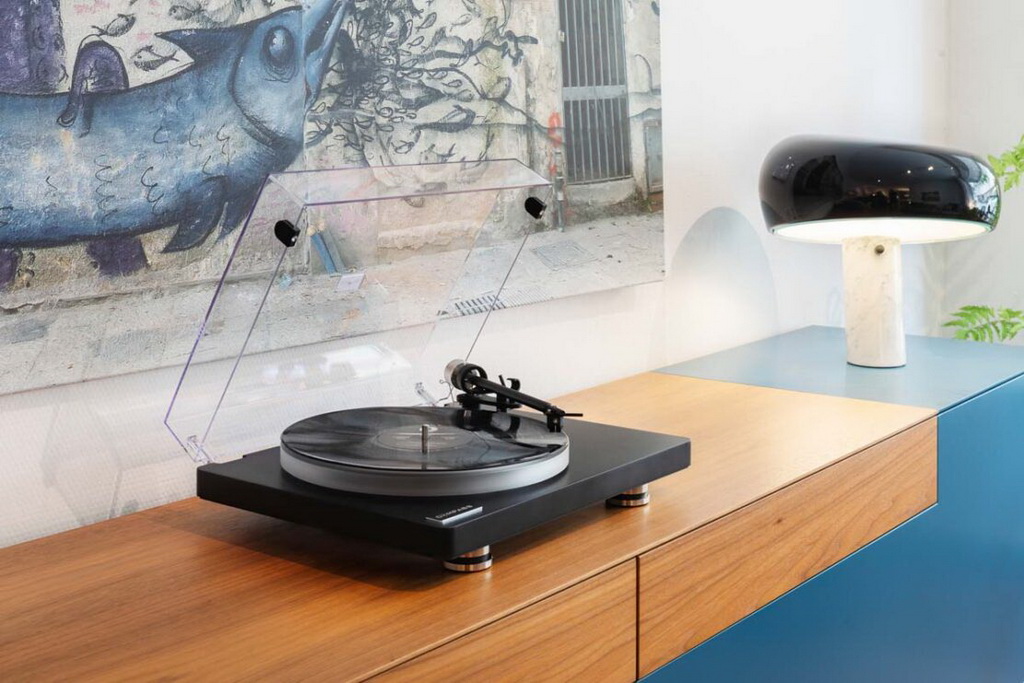
The NAD C558 comes fitted with an Ortofon OM10 moving-magnet cartridge, the Denon DP-500BT includes an MM cartridge, and the Clearaudio Compass uses an N1 moving magnet cartridge.
MM cartridges are common because they are convenient and compatible with standard MM phono inputs. The Clearaudio N1 example also shows typical MM matching values: a 47 kΩ load resistance and 100 pF load capacitance. If your phono stage offers MM settings, those are the values to look for when they are available and appropriate for the cartridge.
If your turntable has a built-in phono preamp and you connect to an amplifier’s phono input, switch the turntable output to Phono or bypass the internal phono stage.
Do not send a line-level signal into a phono input.
That double-amplifies and incorrectly equalizes the signal, which can cause overload, excessive volume, and poor sound.
- Turn off the amplifier and turntable before making connections.
- Connect the turntable’s left and right RCA outputs to the amplifier’s Phono input.
- Attach the turntable ground wire to the amplifier’s ground terminal if the turntable provides one.
- Select the Phono input on the amplifier.
- Start at low volume, then raise gradually after confirming clean playback.
Using an External Phono Preamp
An external phono preamp is needed when your turntable has no built-in phono stage and your amplifier, active speakers, or audio system has no phono input.
It is also useful when you want to choose a phono stage that better matches your cartridge or system layout.
The signal chain is simple: turntable into phono preamp, phono preamp into a line-level input.
Line-level inputs may be labeled AUX, Line, CD, Tuner, Analog In, or similar.
The phono preamp performs the necessary gain and equalization, so the device after it should not be another phono input.
Cartridge type matters.
A moving magnet cartridge should be connected to an MM-compatible phono input.
Some turntables allow cartridge upgrades, and the NAD C558 is described as being suitable for more ambitious cartridges, including moving-coil designs if the user chooses that path. Moving coil cartridges usually require an MC-compatible phono stage or the correct additional gain solution. Do not assume an MM-only phono input will properly support every MC cartridge.
- Connect the turntable RCA cables to the phono preamp input.
- Connect the ground wire from the turntable to the phono preamp ground post if provided.
- Set the phono preamp to MM for a moving magnet cartridge, unless your cartridge documentation says otherwise.
- Connect the phono preamp output to a line-level input on your amplifier or active speakers.
- Keep the phono preamp close enough to the turntable to avoid unnecessary cable length on the low-level cartridge side.
Grounding: What the Ground Wire Does and How to Stop Hum
Grounding is one of the most common sources of confusion in turntable setup.
A turntable ground wire is not the same as the left and right audio cables.
Its job is to provide a reference path that can reduce hum caused by small electrical potential differences between the turntable and the phono stage or amplifier.
Some turntables provide a dedicated ground terminal or cable.
The NAD C558, for example, includes gold-plated RCA outputs and a proper ground terminal.
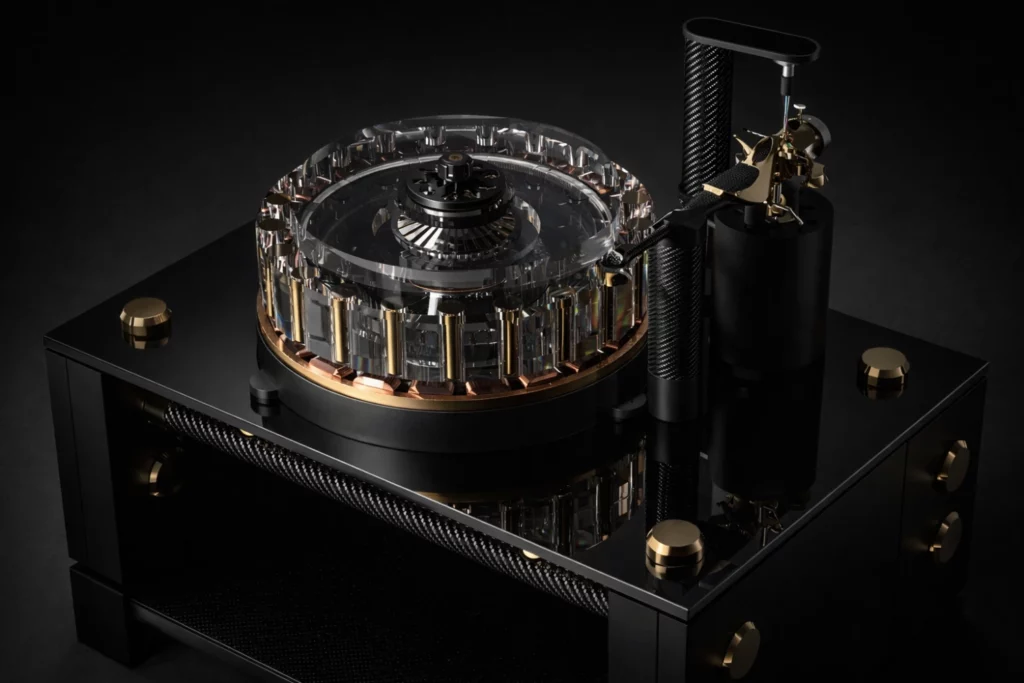
Michell’s redesigned Gyro motor is described with a shielded design and a grounding cable, showing how seriously turntable makers treat noise control. If your turntable includes a ground lead, connect it to the ground post on the phono preamp or amplifier receiving the phono signal.
If you hear a steady low hum that changes when you touch the tonearm, headshell, or ground wire, grounding should be your first troubleshooting area.
Make one change at a time.
Tighten the ground connection, move signal cables away from power supplies, and confirm that you have not accidentally connected a line-level output into a phono input or a phono-level output into a line input.
- Attach the turntable ground wire to the ground terminal on the phono preamp or amplifier.
- Tighten the connection by hand; it should be secure but not forced.
- Route RCA cables away from power cables and external power supplies where possible.
- If hum remains, try moving the phono preamp or turntable cables to reduce electrical interference.
- Do not remove safety earth connections from mains-powered equipment as a hum fix.
Connecting a Turntable Directly to Active Speakers
Active speakers are an attractive match for modern turntables because they reduce box count.
However, the connection works only when the active speakers receive a line-level signal.
A raw phono cartridge signal is too low and has not been correctly equalized.
Turntables with a switchable built-in phono stage are designed for this kind of setup.
The TEAC TN-400BTX has a built-in phono stage that can be switched for use with external preamps, enabling direct connection to active loudspeakers or integrated amplifiers.
The Denon DP-500BT also includes a switchable built-in phono amplifier that can be bypassed if the user wants to use an external phono amplifier.
When connecting directly to active speakers, set the turntable to Line or enable the internal phono stage.
Then connect the RCA outputs to the speaker’s analog input.
If the speakers use a 3.5 mm input, you may need a suitable RCA-to-3.5 mm cable. Start with the speakers at low volume because line-level outputs can be much stronger than a phono signal.
If the sound is extremely quiet through active speakers, the turntable is probably set to Phono or has no phono stage in the signal path.
If the sound is loud, harsh, and distorted through an amplifier’s phono input, the turntable may be set to Line when it should be set to Phono.
- Confirm the active speakers have an analog input.
- Set the turntable’s output switch to Line if it has a built-in phono stage.
- Connect left and right RCA outputs to the active speaker input or control speaker.
- Power on the turntable first, then the active speakers at low volume.
- Play a record and raise volume gradually.
Bluetooth Turntables: Convenience, Pairing, and Limits
Bluetooth turntables make vinyl easier to place in modern homes because they can transmit playback to compatible wireless speakers or headphones.
This is useful when you cannot run signal cables across the room, when you want headphone listening without a separate amplifier, or when the turntable is part of a casual living-room setup.
The TEAC TN-400BTX supports Bluetooth transmission with the aptX Adaptive codec and can store up to eight paired devices.
The Denon DP-500BT supports Bluetooth with aptX, aptX HD, and aptX Adaptive, and is described as working with HEOS amplifiers and Home speakers for multiroom listening.
These examples show that Bluetooth vinyl is no longer limited to basic convenience features; however, compatibility still depends on the receiving speaker or headphone supporting the relevant Bluetooth connection and codec.
Bluetooth does not remove the need for correct turntable setup.
The record still needs a properly installed cartridge, correct tracking force, stable platter speed, and good placement.
Bluetooth simply replaces the analog cable path after the turntable’s internal electronics. If wireless playback is intermittent, first reduce distance and obstacles, then clear old pairings and pair again.
- Put the receiving speaker or headphones into Bluetooth pairing mode.
- Activate Bluetooth pairing on the turntable according to its controls.
- Wait for the devices to connect before starting playback.
- Keep the turntable and receiver within a practical range and away from avoidable obstructions.
- If pairing fails, delete previous pairings if possible and repeat the process.
Cartridge and Phono Stage Matching Basics
The cartridge is the part of the turntable that reads the groove.
It is mounted to the tonearm and carries the stylus.
In many modern turntables, the cartridge is pre-mounted and aligned at the factory, which reduces setup difficulty. The NAD C558 arrives with an Ortofon OM10 moving-magnet cartridge already aligned, while the Denon DP-500BT is supplied ready to play with a compatible MM cartridge. The TEAC TN-400BTX includes a factory-mounted Audio-Technica AT95E cartridge.
A moving magnet cartridge should normally be used with an MM phono input.
If your phono preamp has adjustable capacitance or loading, consult the cartridge requirements.
The Clearaudio Compass N1 cartridge example specifies a 47 kΩ load resistance and 100 pF load capacitance, which are described as standard values for MM phono preamplifiers. Matching is not just about avoiding damage; it affects tonal balance, noise, and tracking performance.
If your turntable allows cartridge changes, take setup seriously.
The Pro-Ject Xtension 9 Evolution is supplied without a cartridge and offers multiple counterweights and fine-tuning options so users can optimize it with many pickups.
That flexibility is valuable, but it also means you must set tracking force, alignment, and anti-skating correctly for the chosen cartridge. If a turntable is supplied pre-aligned, do not disturb the cartridge screws unless you are intentionally reinstalling or upgrading.
- Identify whether your cartridge is MM or MC.
- Set the phono preamp to the matching input type when adjustable.
- Use the cartridge maker’s recommended tracking force when setting up or replacing a cartridge.
- Check anti-skating if the tonearm provides an external adjustment.
- Replace a worn stylus module when applicable rather than continuing to play records with a worn tip.
Speed, Belt Drive, and Everyday Operation
Most turntables play LPs at 33 1/3 rpm and singles or some other records at 45 rpm.
How you change speed depends on the deck.
Some models use electronic speed selection. Michell’s new Gyro includes electronic speed selection for 33.3 or 45 rpm, and the Pro-Ject Xtension 9 Evolution also provides electronic switching between 33 and 45 rpm. Other turntables require manual belt movement. The NAD C558 is intentionally manual and changes between 33 and 45 rpm by moving the belt by hand.
If your records sound too high-pitched or too low-pitched, check speed first.
Also make sure the belt is correctly seated if your deck is belt-driven.
Belt-drive designs are common across many turntables because they isolate the platter from motor vibration, but the belt must be installed correctly and kept clean enough to maintain stable rotation.
Manual operation is not a flaw.
Some hi-fi turntables omit automation so the design can focus on stable rotation, tonearm quality, and resonance control.
Semi-automatic operation, such as the Denon DP-500BT’s automatic tonearm lift at the end of the record and platter stop, can reduce unnecessary spinning and wear. Whichever style you own, build a repeatable routine: confirm speed, clean the record if needed, cue the arm gently, and return the arm safely at the end.
- Select the correct speed before lowering the stylus.
- For manual belt-change decks, stop the platter before moving the belt.
- Use the cueing lever rather than dropping the stylus by hand whenever possible.
- At the end of playback, lift and secure the tonearm before removing the record.
- Close the dust cover when the turntable is not in use if the design provides one.
Placement, Vibration Control, and Cable Routing
A turntable is a mechanical playback device, so placement affects performance more than it does with many digital sources.
The stylus is trying to follow tiny groove movements while the platter spins at a stable speed.
External vibration, unstable furniture, and acoustic feedback from speakers can interfere with that process.
Several turntable designs in the reference material emphasize vibration management.
Michell’s Gyro and Revolv use aluminum chassis structures and Sorbothane composite feet for vibration absorption.
Clearaudio’s Compass uses a plinth design optimized for vibration suppression, decoupling elements, and height-adjustable feet with damping elements. Pro-Ject’s Xtension 9 Evolution uses a heavy resonance-damping plinth and adjustable damped feet. These design choices point to a practical rule: give the turntable a stable, level, low-vibration platform.
Keep the turntable away from speaker cabinets and subwoofers where possible.
If bass notes cause feedback, mistracking, or a low-frequency howl, increase distance from speakers, lower the listening volume temporarily, and improve isolation.
Cable routing also matters because the cartridge signal can be very small. Keep phono cables tidy, avoid stretching them, and do not coil them tightly around power cables.
- Place the turntable on a rigid, level surface.
- Keep it away from strong vibration sources, including loudspeakers where possible.
- Adjust feet if the turntable provides height adjustment.
- Route phono cables away from mains cables and power supplies.
- Use the dust cover for protection when not playing records, but avoid bumping it during playback.
Concise Turntable Setup Checklist
- Identify whether your turntable output is Phono or Line.
- Use a phono input or external phono preamp for a raw cartridge signal.
- Use Line output when connecting directly to active speakers or normal line inputs.
- Connect the ground wire to the phono preamp or amplifier ground terminal if provided.
- Match MM cartridges with an MM phono input; use MC-compatible equipment for MC cartridges.
- Select the correct record speed: 33 1/3 or 45 rpm.
- Place the turntable on a stable, level, low-vibration surface.
- Start with low volume after changing cables or settings.
- Keep signal cables away from power cables where possible.
- Use Bluetooth pairing only with compatible wireless speakers or headphones.
Common Turntable Connection Mistakes and How to Avoid Them
Connecting a phono-level turntable directly to active speakers.
Active speakers normally need a line-level signal.
Use the turntable’s built-in phono stage in Line mode, or add an external phono preamp between the turntable and speakers.
Sending a Line output into an amplifier’s Phono input.
If the turntable’s internal phono stage is on, connect to AUX, Line, CD, or another line input.
Use the Phono input only when the turntable is outputting a phono-level cartridge signal.
Ignoring the ground wire when hum appears.
If the turntable has a ground lead or ground terminal, connect it to the phono preamp or amplifier ground post.
Then route signal cables away from power cables and test again.
Using the wrong phono stage setting for the cartridge.
Most supplied ready-to-play examples use MM cartridges, which need MM-compatible phono inputs.
If upgrading to MC, confirm the phono preamp supports MC operation.
Forgetting to change speed for different records.
Check whether the record requires 33 1/3 or 45 rpm.
Use electronic speed selection if available, or stop the platter and move the belt manually on decks that require it.
Placing the turntable on unstable furniture near speakers.
Use a rigid, level surface and increase distance from loudspeakers to reduce vibration, acoustic feedback, and tracking problems.
Frequently asked questions
Do I need a phono preamp for every turntable?
You need a phono preamp somewhere in the signal chain unless the turntable already provides a line-level output through a built-in phono stage.
Turntables such as the TEAC TN-400BTX and Denon DP-500BT include switchable built-in phono amplification.
Models without a built-in phono preamp need an amplifier with a phono input or an external phono preamp.
Can I connect a turntable straight to active speakers?
Yes, but only if the signal is line level.
Use a turntable with its built-in phono stage switched on, or connect the turntable to an external phono preamp first and then feed the active speakers.
Why does my turntable hum?
Common causes include an unconnected ground wire, loose RCA connections, poor cable routing, or a mismatch between phono and line inputs.
Connect the ground lead if provided, keep signal cables away from power cables, and confirm that the turntable is connected to the correct input type.
Is Bluetooth a good way to play records?
Bluetooth is convenient and can be useful for wireless speakers or headphones.
Turntables such as the TEAC TN-400BTX and Denon DP-500BT support Bluetooth transmission with modern aptX-family codecs.
For the most traditional wired hi-fi path, use analog outputs into a phono stage or line input as appropriate.
What is the difference between MM and MC cartridges?
MM means moving magnet, while MC means moving coil.
Many ready-to-play turntables use MM cartridges because they are widely compatible with standard MM phono inputs.
MC cartridges require appropriate MC-compatible phono amplification or gain matching.
Why is my turntable very quiet through my speakers?
The most likely reason is that a phono-level signal is being sent into a line-level input without a phono preamp.
Switch on the built-in phono stage if your turntable has one, or add an external phono preamp.
Conclusion: Build the Signal Chain First, Then Fine-Tune
A turntable connection is easy once you follow the signal correctly.
A cartridge signal needs phono amplification before it can feed active speakers, line inputs, or most modern audio systems.
If your turntable has a switchable built-in phono stage, use Phono mode for a real phono input and Line mode for active speakers or normal analog inputs. If it has no built-in phono stage, add an external phono preamp or use an amplifier with a suitable phono input. Connect the ground wire when provided, match MM and MC cartridges to the correct phono stage, choose the right speed, and place the deck on a stable, low-vibration surface. Bluetooth can add useful convenience, but it does not replace careful turntable setup. Get the basics right first, and your vinyl system will be quieter, safer, and much easier to enjoy.

Join the discussion
Share your thoughts, listening impressions or product experience.