

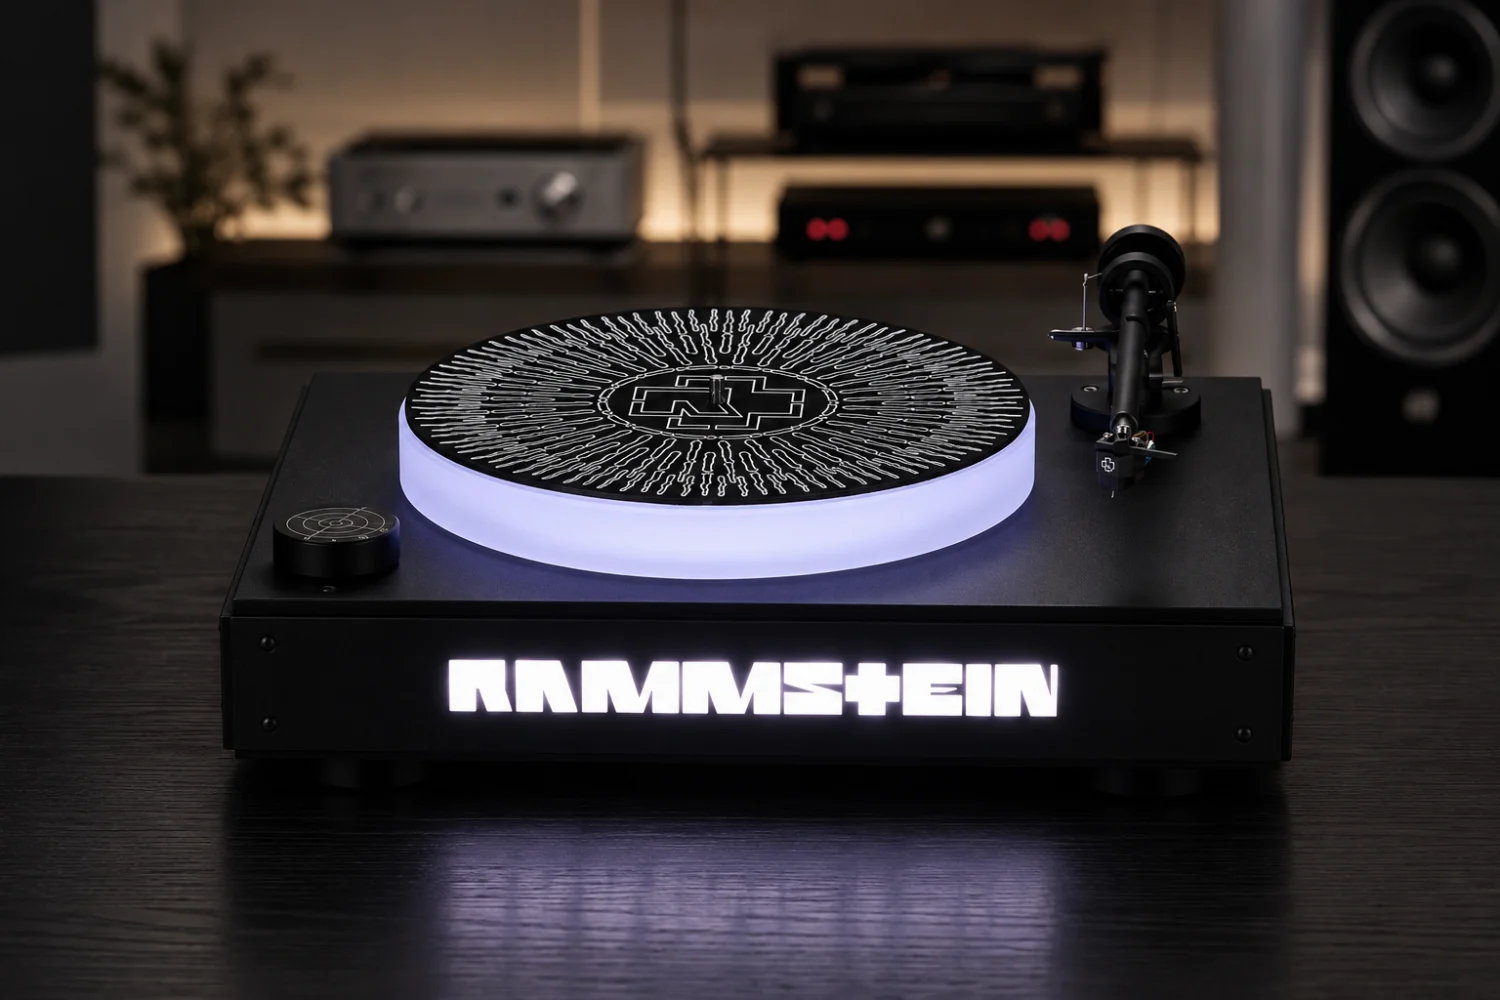
A turntable is a mechanical playback system, not just another audio source.
The platter must rotate steadily, the stylus must sit correctly in the record groove, and the signal must pass through the right phono stage before it reaches your amplifier or powered speakers.
This guide walks through the complete process for setting up and connecting a belt-drive turntable, from leveling and belt installation to phono-stage matching and first playback.
Choose a stable location before you unpack everything
Turntables are unusually sensitive to placement because the stylus reads tiny movements in a record groove.
Any unwanted movement from footsteps, speaker vibration, an uneven shelf, or a resonant cabinet can blur playback, cause skipping, or make bass sound unstable.
Before assembling the deck, decide where it will live.
Use a rigid, level surface that does not wobble when you touch it.
Avoid placing the turntable directly on top of a loudspeaker or subwoofer.
If your system plays loudly, keep the turntable as far as practical from the speakers, especially from bass-heavy positions near corners. Some turntables help with vibration control through design features such as a floating sub-chassis, damped feet, a solid plinth, or an acrylic or aluminum platter, but good placement still matters.
If the turntable has a dust cover, make sure there is enough vertical clearance to open it without hitting a shelf above.
Leave room at the rear for RCA cables, a ground wire if used, and the power supply.
If the model has a removable headshell, counterweight, or other detachable parts, give yourself a clean work surface so nothing rolls away during assembly.
- Place the stand or shelf where it will not be bumped during playback.
- Keep the turntable away from speakers, subwoofers, and unstable furniture.
- Check that the dust cover can open fully and cables can exit without sharp bends.
- Do not connect power until the platter, belt, tonearm parts, and transport locks have been dealt with.
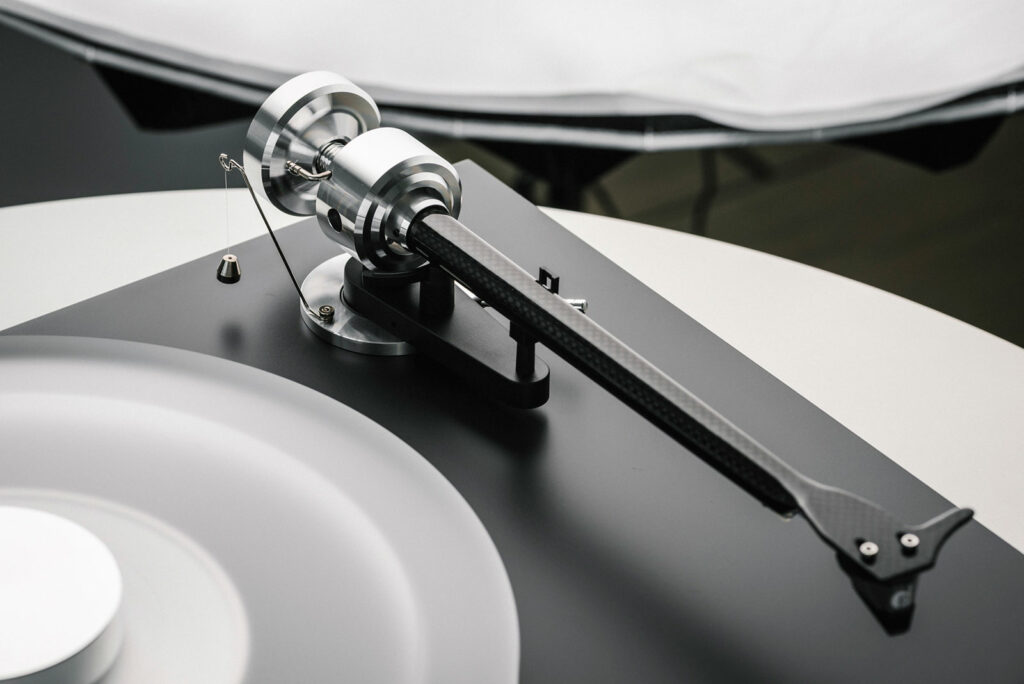
Level the plinth and platter
Leveling is one of the simplest setup jobs and one of the most important.
A record player depends on gravity: the platter rotates horizontally, the tonearm tracks across the record, and the stylus rests in the groove with a controlled amount of downward force.
If the turntable leans, the arm may pull too hard inward or outward, and playback can become less reliable.
Some turntables have height-adjustable feet.
For example, more advanced belt-drive models may use three height-adjustable damped feet, which can make leveling easier on uneven furniture.
Other beginner-friendly decks have fixed feet, so you may need to level the furniture itself or use a stable shim under one side. Do not put soft, unstable material under the turntable, because it can add wobble.
Use a small bubble level if you have one.
Check the plinth first, then check the platter after it is installed.
A three-foot turntable may feel easier to level because all three feet contact the surface without rocking, while four-foot designs can sometimes need more patient adjustment.
- Set the turntable in its final listening position.
- Place a small level on the plinth, then adjust the feet or support surface until it is level left-to-right and front-to-back.
- After fitting the platter, check the platter surface as well.
- If the feet are not adjustable, correct the furniture or use firm, stable shims under the furniture or turntable support—not under the platter.

Remove transport locks, guards, and packing parts safely
Manufacturers often secure turntables for shipping.
These parts protect the mechanism, tonearm, platter bearing, or suspension during transport, but they must not remain engaged during playback.
Some suspended or automatic designs may use visible transport locks underneath or inside the chassis. A REKKORD automatic model, for instance, uses red transport locks underneath that must be removed before use. Your model may use different locks, clips, ties, or foam blocks, so follow its own setup sheet.
Keep the stylus guard fitted until the moment you need to play or align the cartridge.
The stylus is the tiny diamond tip that touches the record groove, and it is easy to damage with a sleeve, finger, or accidental tonearm drop.
If your tonearm is tied down for shipping, release it only after the deck is on a safe surface.
- Read the quick-start sheet before pulling parts free.
- Remove platter packing, tonearm ties, foam blocks, and any transport screws or locks specified by the manufacturer.
- Keep removed transport parts in the box in case you move the turntable later.
- Leave the stylus guard on while fitting the platter and belt.
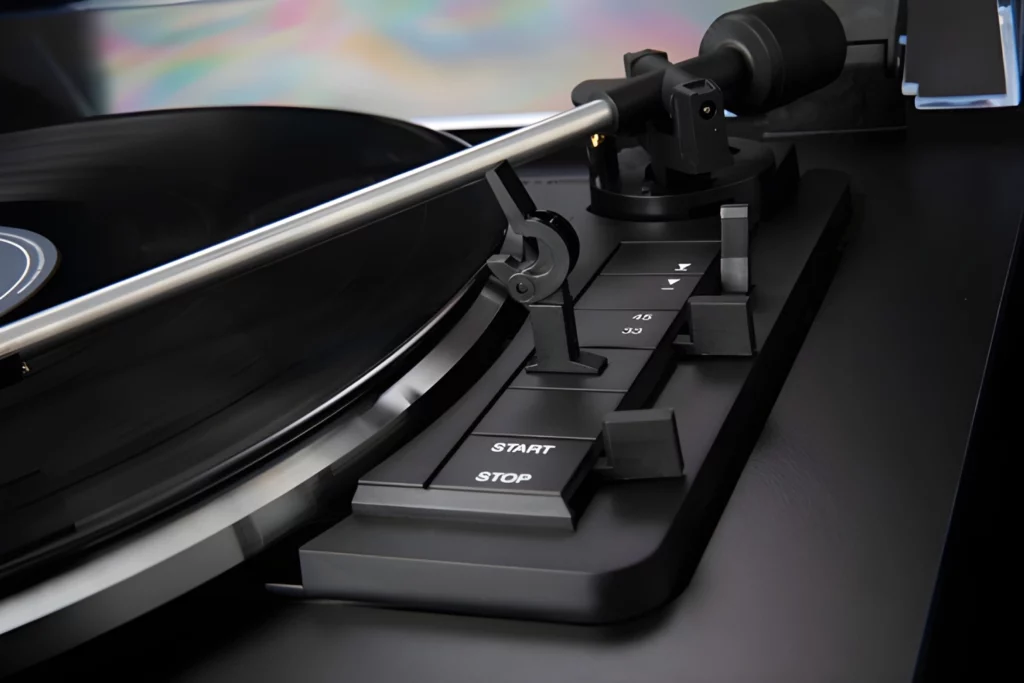
Assemble the platter and belt drive
A belt-drive turntable uses an elastic belt to connect the motor to the platter or sub-platter.
The motor turns the belt, and the belt turns the platter.
This arrangement is widely used because it helps keep motor vibration away from the record surface. Turntables such as the Cambridge Audio Alva ST, REKKORD F110P, Pro-Ject E-line models, and Fosi Audio LUNA 3 are examples of belt-drive designs, though their exact assembly details vary.
Many belt-drive decks require you to fit the belt during setup.
A typical arrangement is to place the platter on the spindle, loop the belt around the underside of the platter or sub-platter, and then stretch it over the motor pulley through an access window.
Some beginner turntables simplify this process; on an Audio-Technica AT-LP60X, setup includes slipping the belt over the motor pulley, placing the platter and mat, and removing the stylus guard before playback.
Handle the belt with clean, dry hands.
Oils from skin can reduce grip.
Do not twist the belt, and do not force it over the pulley with sharp tools. If the turntable has an acrylic platter designed to be used without a mat, follow that instruction; if it includes a felt, rubber, or other mat, place it flat and centered.
- Confirm the turntable is unplugged or switched off.
- Place the platter or sub-platter on the spindle as instructed.
- Fit the belt around the platter or sub-platter path without twisting it.
- Stretch the belt gently over the motor pulley.
- Rotate the platter by hand a few turns to help the belt settle.
- Place the mat only if your turntable is designed to use one.

Understand the phono stage before connecting cables
A cartridge produces a very small signal.
A phono stage, also called a phono preamplifier, boosts that signal and applies the equalization needed for records to sound correct.
Without a phono stage, a turntable connected to a normal line input will usually sound extremely quiet, thin, and lacking bass.
There are three common connection scenarios.
First, some turntables have a built-in phono stage and can connect directly to powered speakers, an integrated amplifier, or a receiver using a regular line input.
Examples include the REKKORD F110P, Pro-Ject E1.2 Phono, Cambridge Audio Alva ST, and Audio-Technica AT-LP60X. Second, some turntables do not include a phono stage and must connect to an external phono preamp or an amplifier with a dedicated phono input. The Fosi Audio LUNA 3 is an example of a belt-drive turntable designed without a built-in phono stage; it provides RCA outputs and a ground terminal for connection to external phono equipment. Third, some turntables include a switch that lets you choose between phono-level output and line-level output. The AT-LP60X, for example, uses a Phono/Line switch.
The cartridge type also matters.
Many accessible turntables use moving-magnet cartridges, often abbreviated MM.
The Clearaudio N2, Pro-Ject Pick-it MM E, Audio-Technica AT3600L, and Audio-Technica VM95E are examples of MM cartridges mentioned in current turntable systems or cartridge releases. If you use an external phono stage, make sure it supports the cartridge type installed on your tonearm. Do not assume a moving-coil input is correct for an MM cartridge unless the phono stage is designed to support both and is set appropriately.
- Identify whether your turntable has a built-in phono stage.
- If it has a Phono/Line switch, choose Line when connecting to AUX, CD, Tape, powered speakers, or another line input.
- Choose Phono only when connecting to an amplifier’s dedicated phono input or to an external phono preamp.
- If the turntable has no built-in phono stage, connect it first to an MM-compatible phono input or external MM phono stage when using an MM cartridge.
- Avoid running a built-in phono stage into another phono input, because double amplification and equalization can overload or distort the sound.
Connect RCA, ground, power, and optional system features
Most turntables use left and right analog audio outputs.
These may be standard RCA sockets, a captive RCA cable, or in some compact designs a smaller output jack with an adapter cable.
Connect left to left and right to right; the usual color convention is white for left and red for right.
If your turntable or phono stage provides a ground terminal, connect the ground wire between the turntable and the phono stage or amplifier ground post.
The ground connection helps reduce hum.
Not every turntable uses a separate ground wire, especially models with built-in phono stages, so do not worry if your model’s instructions do not include one.
Some turntables add modern or system-integration features.
Bluetooth-equipped models can transmit to compatible wireless headphones or speakers, though a wired connection is usually the standard choice for a hi-fi system.
Some pure analog decks include extra controls such as auto-stop or trigger connections. If your turntable includes an auto-stop switch, decide whether you want the platter to stop automatically at the end of a side. If it includes a 12V trigger output, use it only with compatible equipment and the correct cable arrangement described by the manufacturer.
- Connect the audio outputs to the correct destination: line input, phono input, powered speakers, or external phono stage.
- Attach the ground wire if the turntable and phono stage/amplifier provide ground terminals.
- Connect the external power supply last, after signal cables are secure.
- Keep power cables and audio cables from being tightly bundled together if hum becomes a problem.
- Set optional features such as auto-stop, Bluetooth, or trigger control only after the basic wired setup works.
Set speed, record size, and automatic operation
Most turntables used for modern vinyl playback offer 33⅓ RPM and 45 RPM.
LPs usually play at 33⅓ RPM, while many 7-inch singles play at 45 RPM.
Some models provide electronic speed switching with a button; others use manual belt position changes or additional settings. Always check the label on the record and the turntable’s speed selector before playing.
Automatic and manual turntables require different habits.
A fully automatic deck can start the platter, move the tonearm into position, lower the stylus, lift the arm at the end, return it, and stop the platter.
Models such as the REKKORD F110P and Audio-Technica AT-LP60X are examples of fully automatic turntables designed to reduce setup anxiety for new vinyl users. Manual turntables require you to cue the arm yourself, usually with a cueing lever that lowers the stylus gently.
If the turntable has a size selector for 12-inch LPs and 7-inch singles, set it correctly before pressing Start.
If it has a removable headshell or adjustable tonearm, confirm everything is secured before using automatic functions.
Never force an automatic tonearm by hand while the mechanism is engaged.
- Select 33⅓ or 45 RPM to match the record.
- Use the 7-inch adapter for singles with a large center hole if supplied.
- Set the record-size selector if the turntable has one.
- For automatic models, press Start only after the record is correctly placed.
- For manual models, use the cueing lever rather than dropping the stylus by hand.
Check cartridge, stylus, tracking force, and anti-skate
The cartridge is the small device at the end of the tonearm that holds the stylus and converts groove movement into an electrical signal.
The stylus is a wear item, so it must be clean, undamaged, and correctly seated.
Some beginner turntables arrive with the cartridge factory-installed and the tracking force and anti-skate factory-set. That keeps setup simple, but it also means you should not try to adjust parts that are not designed to be adjusted. The AT-LP60X, for example, does not provide tonearm weight or anti-skate adjustment, while the REKKORD F110P is supplied with factory-set tracking force and anti-skating.
Other turntables are built for adjustment.
Some arms allow counterweight setup, anti-skate adjustment, cartridge alignment, vertical tracking angle, and azimuth.
Vertical tracking angle, or VTA, refers to the arm height and stylus angle as it sits in the groove. Azimuth refers to whether the cartridge is vertically square to the record surface when viewed from the front. On turntables that support these adjustments, use the manufacturer’s instructions and the cartridge’s specified tracking force. Do not guess.
A removable headshell makes cartridge changes easier, but it also introduces another connection point.
Make sure the headshell collar is tight and the cartridge screws are secure.
Integrated threaded inserts on some cartridges can simplify installation because you do not need tiny nuts, but alignment still matters whenever you install or change a cartridge.
- If the cartridge is factory-installed, inspect it but do not loosen it unnecessarily.
- Remove the stylus guard only when you are ready to cue a record.
- If tracking force is adjustable, set it to the cartridge manufacturer’s recommended value using the correct procedure.
- If anti-skate is adjustable, set it according to the turntable and cartridge instructions.
- If VTA or azimuth is adjustable, change it only when you understand the reference point and can verify the result.
First playback: a safe step-by-step routine
Your first playback should be cautious and controlled.
Use a record that is clean and not especially valuable while you confirm that speed, cueing, channel output, and phono-stage routing are correct.
Start with the amplifier or powered speakers at low volume. A wrongly selected phono stage can produce either very low output or unexpectedly loud, distorted output, so do not begin at party volume.
Before lowering the stylus, check that the platter is spinning smoothly and the record is flat on the platter or mat.
If you hear scraping, stop immediately and check that the platter is seated correctly, no packing material remains, and the belt is not misplaced.
If the tonearm does not move correctly on an automatic deck, stop and recheck transport locks and size settings rather than pushing the arm by force.
Once music plays, listen for basic health signs: both speakers should work, the speed should sound steady, hum should be low, and the stylus should track without skating across the record.
A little surface noise from older vinyl is normal, but loud buzzing, severe distortion, repeated skipping, or one dead channel points to a setup issue.
- Place a clean record on the platter.
- Select the correct speed and record size.
- Start with amplifier or speaker volume low.
- Start the automatic mechanism or use the cueing lever to lower the arm manually.
- Confirm that both channels play and the volume is normal.
- At the end of the side, use Stop, the cueing lever, or the automatic return as appropriate.
Basic maintenance after setup
Good setup is not a one-time event.
Vinyl playback involves physical contact between stylus and record, so cleanliness and gentle handling matter.
Keep the dust cover closed when the turntable is not in use. Use inner sleeves that do not shed debris, handle records by the edges and label, and keep the platter surface free from dust.
Clean the stylus only with a suitable stylus brush or cleaner used in the direction recommended for stylus care; never brush aggressively from front to back if the cartridge maker warns against it.
Replace the stylus when it wears according to the stylus manufacturer’s guidance.
Some beginner decks have a non-replaceable cartridge but a replaceable stylus, while upgrade-oriented tonearms may let you change the entire cartridge or headshell.
Belts are also maintenance items.
If the platter struggles to start, speed becomes unstable, or the belt looks stretched, shiny, or contaminated, inspect it and replace it with the correct belt for the model.
Do not clean belts with random solvents, and do not substitute an approximate belt unless the manufacturer lists it as compatible.
- Close the dust cover when the turntable is idle.
- Keep records clean and return them to sleeves after playing.
- Inspect the stylus regularly and replace it when worn.
- Check belt condition if speed or startup becomes inconsistent.
- Recheck level after moving the turntable or changing furniture.
Concise turntable setup checklist
- Choose a rigid, low-vibration surface away from speakers and subwoofers.
- Remove all shipping locks, foam, ties, and platter packing specified by the manufacturer.
- Level the plinth and platter; adjust feet or support surface as needed.
- Fit the platter, belt, and mat according to the belt-drive instructions.
- Identify whether the turntable output is Phono or Line before connecting it.
- Use Line output into AUX, CD, Tape, powered speakers, or other line inputs.
- Use Phono output only into a phono input or external phono preamp.
- Connect the ground wire if your turntable and phono stage provide ground terminals.
- Select the correct speed: 33⅓ RPM or 45 RPM.
- Check cartridge security, stylus guard removal, and cueing before first playback.
- Start with low volume and confirm both channels, stable speed, and low hum.
Common turntable setup mistakes and how to avoid them
Connecting a line-level turntable output to a phono input.
If your turntable has a built-in phono stage and the switch is set to Line, connect it to a normal line input such as AUX or to powered speakers.
Do not feed Line output into a phono input.
Connecting a phono-level turntable directly to powered speakers without a phono stage.
If the turntable has no built-in phono stage, use an external phono preamp or an amplifier with a compatible phono input.
This is essential for models designed as pure analog decks without internal phono amplification.
Ignoring leveling because the platter appears to spin normally.
Level the turntable anyway.
Even a slight tilt can affect tonearm behavior and tracking reliability.
Leaving transport locks or packing parts in place.
Check the manual and remove all specified shipping locks, clips, and foam before playback.
Keep them for future moving.
Forcing an automatic tonearm by hand.
Use the Start, Stop, and cueing controls.
If the arm does not behave correctly, stop and check speed, size selector, transport locks, and power rather than pushing the mechanism.
Removing the stylus guard too early during assembly.
Keep the guard on while installing the platter and belt.
Remove it only when you are ready to cue a record or perform a careful setup check.
Guessing tracking force or anti-skate settings.
If your turntable is factory-set, leave it alone.
If it is adjustable, follow the tonearm and cartridge instructions rather than using a random setting.
Placing the turntable on the same furniture as a powerful speaker.
Move the deck to a more isolated, rigid support.
Vibration can travel through furniture and into the stylus.
Frequently asked questions
Do I need a phono preamp for every turntable?
You need a phono stage somewhere in the signal path, but it may already be built into the turntable or amplifier.
If your turntable has Line output, it has a built-in phono stage engaged.
If it has only phono-level RCA outputs, connect it to an external phono preamp or an amplifier with a phono input.
What is the difference between Phono and Line on a turntable switch?
Phono is the low-level cartridge signal intended for a phono input or external phono stage.
Line is the boosted, equalized signal from a built-in phono stage, suitable for AUX, CD, Tape, powered speakers, or other standard line inputs.
Why does my turntable hum?
Common causes include a missing ground connection, loose RCA cables, incorrect phono-stage routing, or audio cables running too close to power supplies.
If your turntable has a ground terminal, connect it to the phono stage or amplifier ground post.
Also check that left and right RCA plugs are fully seated.
Can I use Bluetooth for vinyl playback?
Some turntables include Bluetooth for convenience, and it can be useful with wireless headphones or speakers.
For a traditional hi-fi setup, a wired analog connection remains the simplest way to avoid wireless pairing issues and extra signal processing.
How do I know whether to play a record at 33⅓ or 45 RPM?
Check the record label or sleeve.
Most 12-inch LPs play at 33⅓ RPM, while many 7-inch singles play at 45 RPM.
Set both speed and record size correctly if your automatic turntable uses a size selector.
Should I upgrade the cartridge right away?
Not necessarily.
Many turntables ship with an MM cartridge chosen to suit the tonearm and intended setup.
Learn the deck, confirm it is level and correctly connected, and replace the stylus when needed before assuming a cartridge upgrade is required. If your tonearm has a removable headshell and supports cartridge changes, follow proper alignment and tracking-force instructions.
Conclusion: set the mechanics first, then the signal path
A successful turntable setup starts with the physical basics: a stable location, a level plinth and platter, removed transport locks, and a correctly fitted belt.
After that, the most important decision is the signal path.
Know whether your turntable is sending Phono or Line output, connect it to the matching input, and use a ground wire where the equipment provides one. Treat the stylus carefully, use the correct speed, start at low volume, and let automatic mechanisms operate without force. Once these fundamentals are right, first playback becomes simple: the platter turns steadily, the cartridge tracks safely, the phono stage does its job, and the music reaches your amplifier or powered speakers as intended.


Join the discussion
Share your thoughts, listening impressions or product experience.