


A digital-to-analog converter, or DAC, turns digital music from a computer, streamer, CD transport, TV, phone, or network player into an analog signal your amplifier, active speakers, or headphones can use.
Many modern DACs also include preamp functions, headphone amplifiers, Bluetooth, streaming modules, filters, EQ, and room correction.
That flexibility is useful, but it also creates setup choices that affect reliability, compatibility, and sound quality. The goal is not to chase the highest number on a spec sheet. The goal is to connect the DAC in the cleanest, safest, most compatible way for your system and then configure it so that volume, format handling, output level, and source selection all work together.
H3: Start by identifying the DAC’s role in your system
Before connecting cables, decide what job the DAC will perform.
In a traditional hi-fi system, the DAC usually sits between digital sources and an integrated amplifier or preamplifier.
In that arrangement, the DAC should normally send a fixed line-level analog signal, while the amplifier or preamp controls volume. This is simple, safe, and usually the best default choice.
Some DACs can also operate as a digital preamplifier.
Models such as the TEAC UD-301-X provide fixed and adjustable analog output modes, while DACs like the Topping D900 include a dedicated volume-controlled output path intended for direct connection to power amplifiers or active speakers.
In this setup, the DAC controls volume, so it becomes the last volume control before the amplifier stage. That can reduce box count and cabling, but it requires more care: always start with the volume very low before pressing play.
Other DACs are portable DAC/headphone amplifiers.
Devices such as the Questyle Sigma Pro and Astell&Kern AK HC5 combine digital conversion with headphone amplification, multiple gain or output options, and USB connectivity.
Their setup priorities are slightly different: headphone impedance, gain level, balanced versus unbalanced headphone output, battery or USB power, and compatibility with phones, computers, or game consoles become central concerns.
- List every source you want to connect: computer, streamer, CD transport, TV, phone, tablet, console, or Bluetooth device.
- List the destination: integrated amplifier, preamplifier, power amplifier, active speakers, or headphones.
- Decide whether volume will be controlled by the amplifier/preamp, the DAC, software, or the headphone amp section.
- Choose fixed output when feeding an integrated amplifier or preamp; choose variable output only when the DAC must control volume.
H3: Choose the best digital input for each source
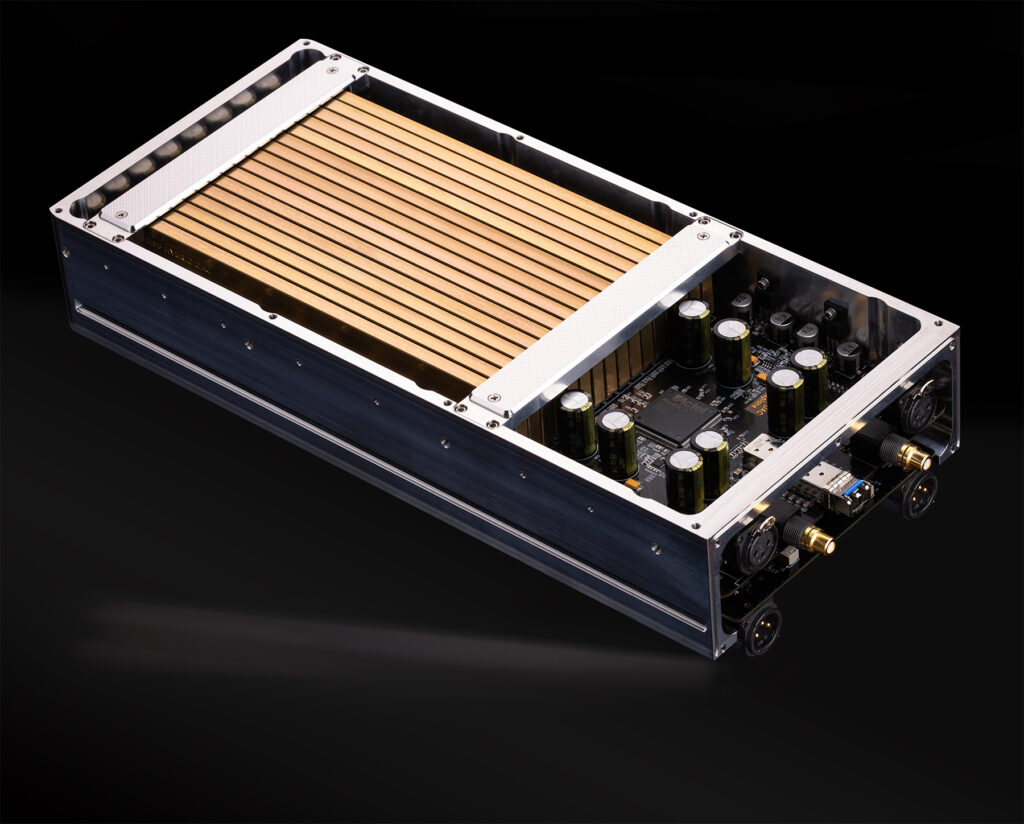
A DAC may offer several digital inputs, and each has a practical use.
USB is the most common choice for computers, many music servers, and some phones or tablets.
It often supports the widest range of high-resolution PCM and DSD formats. For example, several modern DACs use USB to handle very high PCM sample rates and native DSD, while S/PDIF inputs are typically more limited. That does not make S/PDIF bad; it simply means the input should match the source and the file types you actually use.
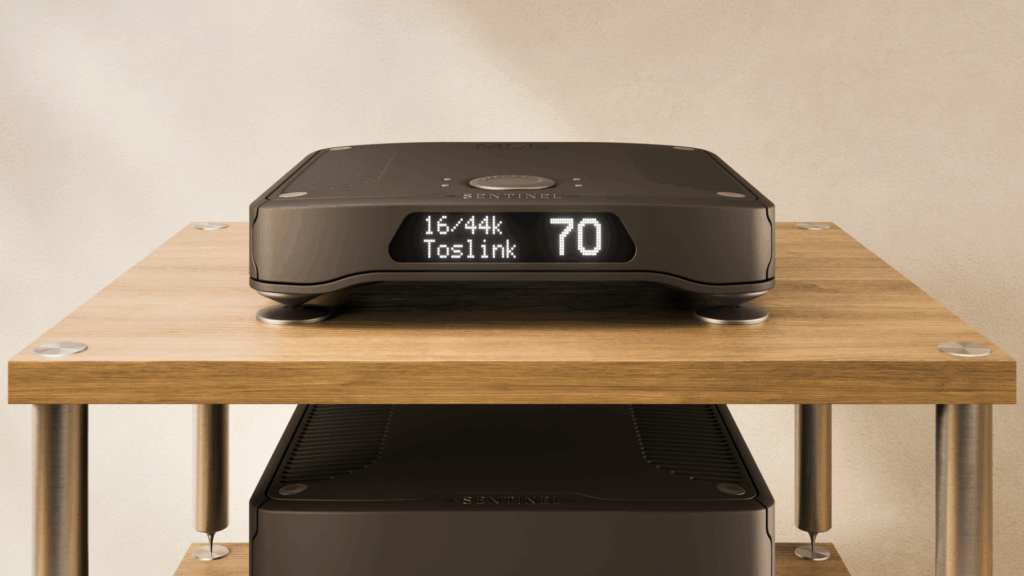
Optical Toslink is useful for TVs, game consoles, streamers, and electrical isolation because it uses light rather than an electrical connection.
Coaxial S/PDIF is common on CD transports and network players.
AES/EBU, usually on a three-pin XLR connector, is often found on more serious transports and studio-style digital sources. I2S over HDMI-style connectors appears on some high-end DACs and transports, but compatibility is not universal because the connector does not guarantee that every manufacturer uses the same pin arrangement or protocol settings.
Bluetooth is convenient, but it is not the same as a wired digital link.
DACs with Bluetooth receivers may support codecs such as LDAC, aptX Adaptive, aptX HD, AAC, or SBC.
Higher-quality codecs can be useful with compatible phones or tablets, but both the transmitter and DAC must support the same codec. For critical listening, a stable wired connection is still the more predictable starting point.
- Use USB for a computer-based music library, high-resolution PCM, native DSD, or playback software that can address the DAC directly.
- Use optical for TVs or when you want electrical isolation between devices.
- Use coaxial S/PDIF or AES/EBU for CD transports and compatible streamers.
- Use I2S only when both source and DAC documentation confirm compatibility.
- Use Bluetooth for convenience, not as the reference connection for setup comparisons.
H3: Install USB drivers and set the computer correctly
USB setup is often where good DAC installations go wrong.
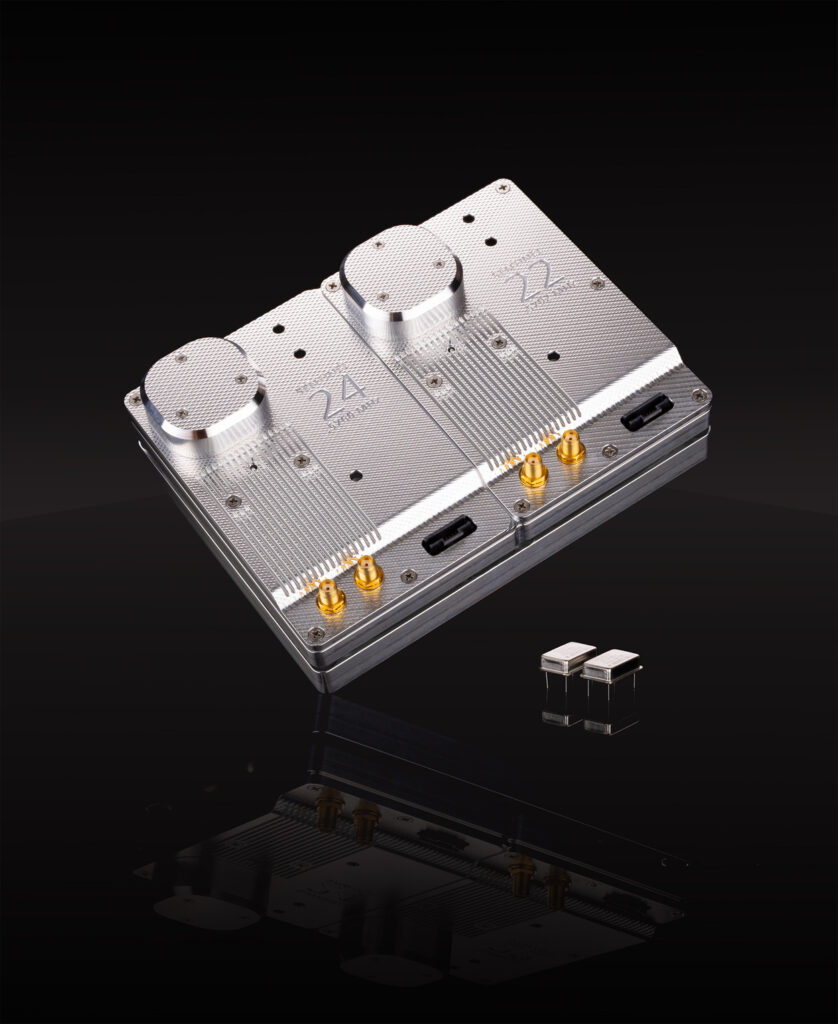
Some DACs are recognized automatically by macOS, Linux, and many mobile systems, while Windows may require a manufacturer-supplied driver.
The Topping D70 Pro SABRE, for example, uses an XMOS USB controller with a Thesycon driver for Windows, while other operating systems can recognize it without additional software. The exact requirement depends on the DAC, so check the manual before assuming plug-and-play operation.
Once the DAC is detected, select it as the output device in the operating system and in your music playback software.
If your player offers exclusive or bit-perfect output modes, those modes can prevent system sounds, alerts, and software mixers from interfering with playback.
Keep system notification sounds away from the hi-fi output when possible, especially if the DAC feeds a powerful amplifier or active speakers.
Sample rate settings can be confusing.
A DAC display may show the incoming sample rate, but that does not automatically mean the music file is being sent unchanged.
If the operating system is set to a fixed output rate, it may resample everything. That is not necessarily disastrous, but if you want the DAC to receive each file at its native rate, use playback software configured for exclusive output and confirm that the DAC display changes when playing files with different sample rates.
- Install the DAC’s required USB driver before connecting it if the manufacturer specifies one for your operating system.
- Select the DAC as the audio output device in both the operating system and playback app.
- Disable system sound effects through the DAC output or route them to another device.
- Play files with different sample rates and check the DAC display, if available, to confirm correct handoff.
- Keep the DAC firmware and control app updated when the manufacturer provides official updates.
H3: Connect analog outputs safely: RCA, XLR, fixed, and variable
After the DAC converts the signal, it sends analog audio through RCA, XLR, or headphone outputs.
RCA is the common unbalanced hi-fi connection.
XLR is a balanced connection often used in higher-end hi-fi and studio equipment. Balanced connections can be helpful for longer cable runs and compatible balanced amplifier inputs, but they are not automatically better in every system. Use the connection your amplifier properly supports.
Some DACs provide both RCA and XLR outputs, such as the TEAC UD-301-X and Métronome Le DAC 3.
Others may be XLR-only, as with the Topping D900, which provides balanced outputs and omits RCA.
If you need to connect an XLR-only DAC to an RCA-only amplifier, use the adapter method recommended by the manufacturer or a properly wired cable. Do not assume every adapter is electrically appropriate for every balanced output stage.
Output level also matters.
The Topping D70 Pro SABRE, for example, provides selectable output voltage levels for both RCA and XLR, which can help match amplifier sensitivity.
If your amplifier reaches high volume too early, a lower DAC output level or fixed-output mode may be easier to manage. If the system sounds too quiet even with the amplifier at a normal setting, confirm that the DAC is not in a reduced-output or variable mode with volume turned down.
- Power off or mute the amplifier before connecting or disconnecting analog cables.
- Use fixed line output when connecting to an integrated amplifier or preamp input.
- Use variable output only when feeding a power amplifier or active speakers directly.
- Begin with the DAC volume at minimum when using variable output, then raise it slowly.
- Match RCA to RCA and XLR to XLR whenever possible; use adapters only when appropriate for the DAC and amplifier.

H3: Configure volume, gain, and headphone outputs
Volume structure is one of the most important parts of DAC setup.
If two or three devices are all reducing volume at the same time, you may lose useful control range or accidentally create a very loud jump when one device changes mode.
A clean approach is to use one main volume control. With an integrated amplifier, that is usually the amplifier. With a DAC feeding active speakers or a power amplifier, that is the DAC’s preamp volume. With headphones, that is the DAC/headphone amplifier’s volume control.
Portable DAC/headphone amplifiers add gain settings and balanced headphone outputs.
The Questyle Sigma Pro, for example, includes multiple hardware gain levels and headphone outputs including 3.5 mm, 4.4 mm balanced, and 6.35 mm.
The Astell&Kern AK HC5 includes unbalanced and balanced output options and a mechanical volume wheel. In practice, use the lowest gain setting that provides enough volume. Sensitive in-ear monitors usually need low gain and careful volume control; harder-to-drive full-size headphones may need higher gain.
Balanced headphone outputs are not the same as balanced line-level XLR outputs.
A 4.4 mm balanced headphone jack is for compatible balanced headphone cables, not for connecting to a standard amplifier input unless the manufacturer explicitly supports that use.
Never plug or unplug sensitive headphones with volume high, and avoid switching gain levels while music is playing loudly.
- Set phone or computer volume to a stable level recommended by the DAC/app setup, then use the DAC’s hardware volume if it has one.
- Start with low gain for sensitive earphones and increase gain only if needed.
- Do not use balanced headphone outputs with ordinary single-ended headphone cables.
- Lower volume before changing gain, output mode, or headphones.
- For a DAC used as a preamp, verify volume control works before connecting a power amplifier or active speakers.
H3: Set filters, upsampling, EQ, and room correction thoughtfully
Many DACs include digital filters or processing modes.
The Topping D70 Pro SABRE offers filter choices named Default, Valve, and Transistor, while the TEAC UD-301-X can increase the sampling frequency of incoming signals up to 192 kHz and allows that conversion to be disabled.
These features are not mandatory. Treat them as configuration tools rather than upgrades you must use.
Digital filters can subtly alter how the DAC handles ultrasonic content and transient behavior.
The best practical method is to choose one setting, listen for several days, and avoid rapid switching at unequal volume.
If the difference is unclear, use the default setting. Upsampling can be useful in some DAC designs, but it can also complicate troubleshooting because the displayed sample rate no longer reflects the original file. When diagnosing format or connection issues, disable optional upsampling first.
Some DAC/preamp/streamer units include broader system correction.
The NAD C 658 includes Dirac Live room correction, which uses microphone measurements around the listening position to create a correction filter.
Room correction is not a DAC-only issue, but when built into a DAC/preamp it becomes part of the digital setup. Follow the measurement process carefully, place the microphone at the required positions, and save filters clearly so you know which correction curve is active.
- Begin with all optional processing off or at factory default.
- Confirm basic playback, channel balance, and volume before experimenting.
- Try one filter or processing change at a time.
- Disable upsampling when troubleshooting sample-rate or format problems.
- For room correction, measure multiple positions around the listening seat and label saved filters clearly.
H3: Integrate streaming, network audio, and local storage
Some DACs are no longer just converters; they can become the digital hub of the system.
The NAD C 658 combines DAC, preamplifier, BluOS streaming, MQA support, digital and analog inputs, and room correction.
The Métronome Le DAC 3 can be fitted with an optional streaming module offering Ethernet, local USB storage playback, and services such as DLNA/UPnP, Spotify Connect, TIDAL Connect, Qobuz Connect, and internet radio. This kind of DAC setup requires both audio cabling and network configuration.
For stable streaming, Ethernet is often the most dependable connection when available, especially for high-resolution libraries and multi-room use.
Wi-Fi can work well, but weak signal strength may cause dropouts that are easy to mistake for DAC faults.
Keep the DAC or streamer on a reliable network, update the control app, and make sure your music service account is active and correctly logged in.
If the DAC supports both USB computer playback and network playback, configure one path at a time.
This prevents confusion about which device is controlling volume, which app is sending the music, and whether a file is being played locally, streamed from a service, or sent over Bluetooth.
A clear input plan makes daily use much easier.
- Connect Ethernet when the DAC or streaming module supports it and your router is nearby.
- Update the streaming app and DAC firmware through official channels.
- Name the DAC clearly in the app if the system supports device naming.
- Confirm whether volume is controlled in the app, DAC, or amplifier.
- Test local files, streaming services, and Bluetooth separately so faults are easier to isolate.
H3: Place and power the DAC correctly
A DAC is a low-level audio component, so placement and power habits matter.
Use a stable shelf with enough ventilation, especially for full-size DACs with substantial chassis construction or internal power supplies.
Some DACs use heavy aluminum cases, anti-vibration feet, toroidal transformers, or separate power-supply sections. The point is not to overthink isolation, but to avoid obvious problems: wobbling furniture, blocked vents, tightly coiled power cables next to analog interconnects, and stacking hot components directly on top of one another.
Keep digital and analog cables organized.
USB, optical, and coaxial cables carry digital data; RCA and XLR cables carry the analog signal that goes to the amplifier.
When possible, avoid running power cords tightly parallel to analog interconnects for long distances. Do not bend optical cables sharply, because Toslink relies on light transmission through the cable.
Portable DACs need another layer of attention.
If a device has separate USB-C ports for data and power, as the Questyle Sigma Pro does, connect them according to the intended use so you are not draining a phone unnecessarily or interrupting playback when charging.
For battery-powered DACs, avoid storing the unit fully depleted for long periods and keep connectors clean.
- Place the DAC on a stable, ventilated surface.
- Keep it away from excessive heat, moisture, and vibration.
- Separate power cables from analog interconnects where practical.
- Avoid sharp bends in optical cables and strain on USB-C connectors.
- Power on source components first, then DAC, then amplifier; power down in the reverse order when possible.
H3: Troubleshoot common DAC problems systematically
When a DAC does not behave as expected, change only one variable at a time.
Start with the signal path: source, cable, DAC input, DAC output mode, amplifier input, amplifier volume, and speakers or headphones.
Most DAC problems are caused by input selection, driver issues, muted software, wrong output mode, unsupported format, or volume set in the wrong place.
If there is no sound over USB, confirm the DAC appears in the operating system, then select it in the playback app.
Try a different USB port and cable.
If there is no sound over optical or coaxial, check that the source is set to stereo PCM when connecting from a TV or console, because some DACs cannot decode surround formats. If high-resolution or DSD files fail, verify which input supports which format. Some DACs support native DSD over USB but only DoP-wrapped DSD64 over S/PDIF or AES/EBU.
Noise, hum, or low-level buzz requires a different approach.
First, reduce the system to one source and one analog output.
Try XLR if both DAC and amplifier support it. If optical input eliminates the noise, the issue may involve an electrical connection between source and DAC rather than the DAC conversion itself. If volume jumps are the problem, check whether the DAC has switched from variable to fixed output or whether playback software has changed its output level.
- Confirm the correct DAC input and amplifier input are selected.
- Check fixed/variable output mode and volume level before increasing amplifier volume.
- Test with a known-good cable and a simple stereo PCM file.
- For TV or console optical output, set the source to stereo PCM.
- If Bluetooth stutters, move the transmitting device closer and confirm codec compatibility.
- If a problem persists, reset only after noting your current settings so you can restore them.
Concise DAC setup checklist
- Decide the DAC’s role: pure DAC, DAC/preamp, streamer/DAC, or DAC/headphone amp.
- Use USB for computer audio and high-resolution formats when supported; use optical, coaxial, AES/EBU, or I2S only where compatible.
- Install required USB drivers, especially on Windows, before serious listening or troubleshooting.
- Use fixed analog output into an integrated amplifier or preamp; use variable output only when the DAC controls system volume.
- Start with low volume before changing output mode, gain, headphones, or amplifier inputs.
- Match RCA, XLR, and headphone outputs correctly; do not assume adapters are always safe.
- Begin with default filters and processing, then adjust one setting at a time.
- Use Ethernet for network-capable DACs when possible for stable streaming.
- Keep the DAC ventilated, supported, and connected with strain-free cables.
- Troubleshoot methodically: source, cable, input, output mode, volume, format, then network or driver settings.
Common DAC setup mistakes and how to avoid them
Connecting a variable DAC output directly to a power amplifier with the volume too high.
Before connecting a power amplifier or active speakers, set the DAC volume to minimum, confirm variable mode is active, then raise volume slowly.
Using fixed output when the DAC is the only volume control in the system.
If there is no integrated amplifier, preamp, or active speaker volume control after the DAC, use the DAC’s variable/preamp output and verify volume control before playback.
Assuming every input supports every format.
Check the DAC’s input capabilities.
USB often supports the widest PCM and DSD range, while optical, coaxial, and AES/EBU may be limited to lower maximum rates or DoP handling.
Treating I2S as universally compatible because it uses a familiar HDMI-style connector.
Confirm I2S compatibility between source and DAC in both manuals before buying cables or relying on it as your main connection.
Letting the computer operating system resample or mix everything unintentionally.
Use proper DAC drivers, select the DAC in playback software, and consider exclusive output modes if you want files sent at their native sample rate.
Using Bluetooth as the only benchmark for DAC sound quality.
Bluetooth is convenient, but for setup checks and critical listening, compare with a stable wired input such as USB, coaxial, optical, or AES/EBU.
Changing filters, upsampling, EQ, and room correction all at once.
Start from default settings, confirm basic playback, and change one processing option at a time so you know what caused any improvement or problem.
Plugging balanced headphones or adapters into the wrong type of output.
Remember that balanced headphone outputs, balanced XLR line outputs, and unbalanced RCA outputs are different connections with different purposes.
Frequently asked questions
Should I connect my DAC by USB, optical, coaxial, or XLR AES/EBU?
Use the input that best matches the source.
USB is usually the most flexible for computers and high-resolution files.
Optical is useful for TVs and electrical isolation. Coaxial S/PDIF is common for CD transports and streamers. AES/EBU is a balanced digital connection used by some higher-end transports and studio-style sources. The best choice is the one both devices support reliably.
Should my DAC output be fixed or variable?
Use fixed output when feeding an integrated amplifier or preamplifier, because that downstream component controls volume.
Use variable output when the DAC feeds a power amplifier or active speakers directly.
Always start with the volume low when using variable output.
Are XLR outputs always better than RCA outputs?
Not automatically.
XLR is a balanced connection and can be useful when both DAC and amplifier are designed for it, especially with longer cable runs.
RCA remains completely appropriate for many hi-fi systems. Use the connection your amplifier supports properly, and avoid improvised adapters unless they are suitable for the DAC’s output design.
Why does my DAC display a different sample rate than the music file?
Your operating system, playback software, streamer, or DAC upsampling mode may be converting the signal before it reaches the DAC display.
If you want native-rate playback, disable optional upsampling and configure your playback software for direct or exclusive output where available.
Can I connect a DAC directly to active speakers?
Yes, if the DAC has a proper variable output or preamp mode and the speakers accept that signal.
Set the DAC volume very low before connecting, then raise it gradually.
Do not use a fixed-output DAC directly into active speakers unless the speakers have their own accessible volume control and the setup is safe.
Why is there no sound from my DAC even though it is powered on?
Check the basics in order: correct source selected, correct DAC input selected, correct amplifier input selected, DAC not muted, volume up in the right place, fixed/variable mode correct, and the file format supported by the chosen input.
For TV optical connections, set the TV output to stereo PCM.
Conclusion: build the DAC setup around signal path, compatibility, and control
A DAC performs best when it is installed as part of a clear system plan.
Choose the right digital input for each source, install any required USB drivers, match the analog output to your amplifier or active speakers, and decide exactly where volume will be controlled.
Start with fixed output into an integrated amplifier or preamp, and use variable output only when the DAC is intentionally acting as a preamplifier. Keep filters, upsampling, EQ, streaming, and room correction simple at first, then adjust one setting at a time. Good DAC setup is not about using every feature at once; it is about a clean digital feed, safe analog gain structure, compatible connections, stable software, and careful troubleshooting. Get those fundamentals right, and the DAC can serve as a reliable, high-quality digital heart for your hi-fi system.

Join the discussion
Share your thoughts, listening impressions or product experience.